
Sampling & Quality guide
How Do We Review a Molded Pulp Insert for Perfume?
A formed tray can look right with a display bottle. A different cap or bottle finish can change the contact points once we pack the gift.
We review a molded pulp insert for perfume by confirming how the sample was made, checking contact with the real bottle and assembling the complete box. We record where the bottle rests, how it comes out and what still needs review before production.
At Finer Pack, we use this approach when a buyer is comparing a formed fiber tray for a glass fragrance bottle. We start with the molded part and the actual product. Then we check them together inside the planned gift box.
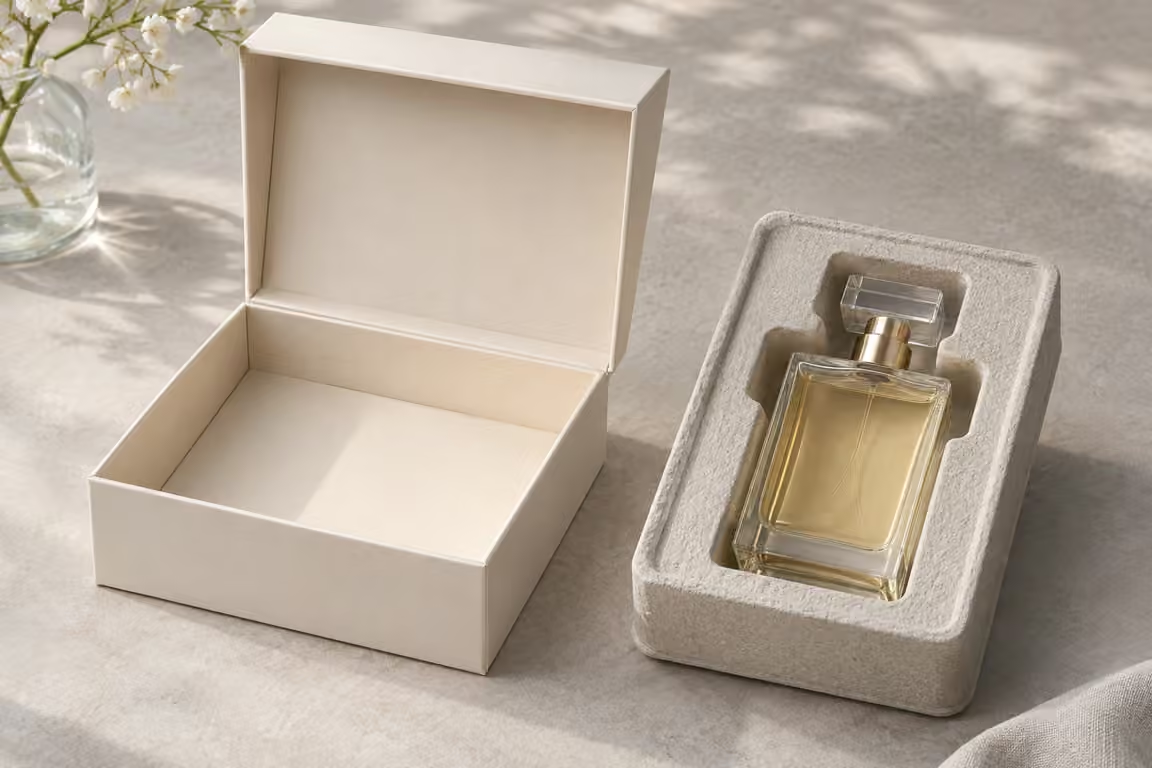
What Can This Molded Sample Tell Us?
An early tray can show the cavity shape while leaving its surface or fit open. We identify the sample before making an approval decision.
We ask for the sample stage, material, tool revision and production process it represents. We use an early model to review geometry and request a representative formed part for decisions involving texture, contact and assembly. We write down which decisions each sample supports.
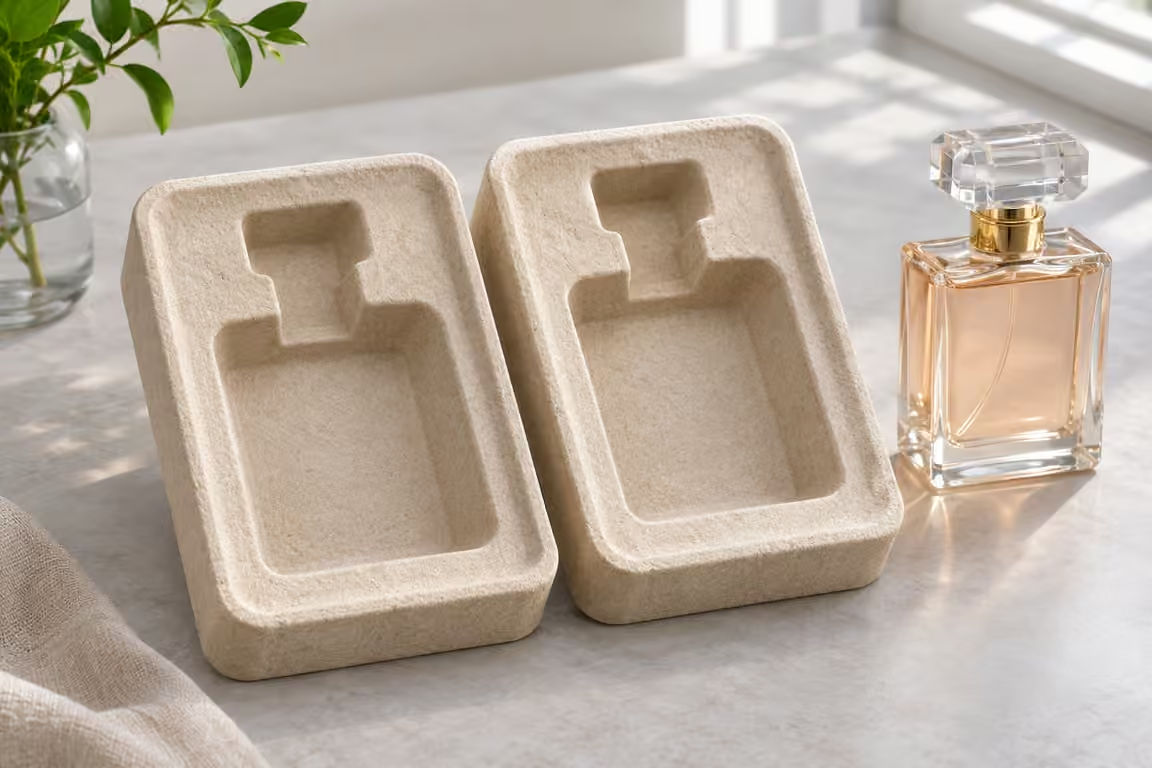
We match the tool and sample to the question
We ask the supplier how it made the tray on our bench. It may be a geometry model, an early molded trial or a sample from the proposed production route. We put that information next to the drawing revision. If the sample uses a different fiber mix or surface finish, we record the difference and ask which observations will need a second check. A useful label gives the reviewer a way to compare the samples later.
The International Molded Fiber Association describes multiple molded fiber process types. We use its overview to ask specific questions about the intended process and which surfaces we will see or touch. We ask to see the visible face, underside and trimmed rim on a representative piece. We review the features our project needs without choosing a process from a generic photograph.
Intrecore describes prototype, pilot and serial stages in its own molding workflow. We use that example to ask where our project stands and what will happen before repeat supply. We request the supplier's actual milestones and sample plan for our tray. For a launch using two bottles, we ask whether each cavity needs separate tooling and which physical samples will represent the two versions.
We keep a simple sample card with the review. It names the cavity revision, intended bottle and sample stage. It lists fit, surface and assembly as separate decisions. We can move ahead with a geometry choice while holding the finished surface for review. If the tray has a visible color or texture target, we keep that target with the appropriate sample and confirm the expected variation with the supplier.
Sources for this section: International Molded Fiber Association process overview1, Intrecore pulp molding technology2
| Sample stage | What we review | What we retain |
|---|---|---|
| Geometry model | Cavity shape and orientation | Drawing revision |
| Molded trial | Contact and visible surface | Material and process details |
| Release sample | Complete filled box | Identified sample and decision |
Where Should the Perfume Bottle Touch the Tray?
A cavity may grip a cap while leaving the bottle base free to move. We check where the actual bottle rests and how it lifts out.
We mark the intended supports and compare them with the contact points on the filled pack. We use the finished bottle, cap and decoration. We observe placement, movement and removal and record any contact that needs a different cavity or a representative follow-up check.
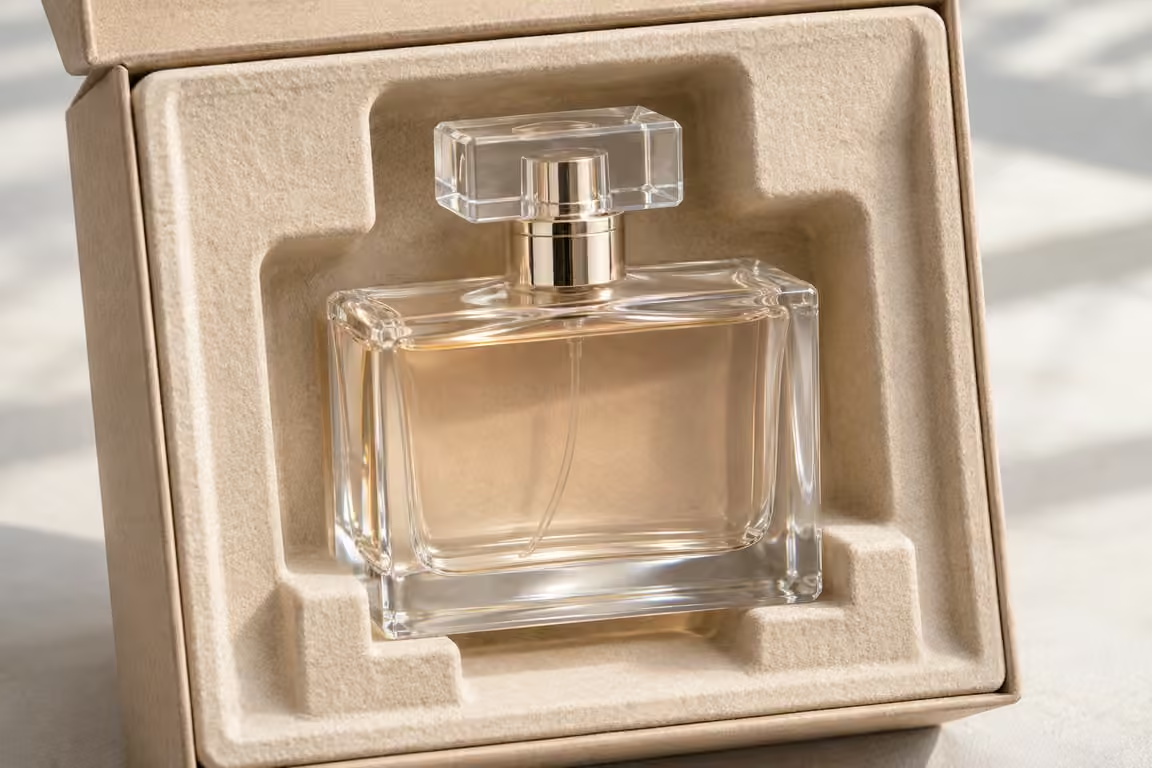
We follow the load and the removal path
We set the intended bottle into the tray at the angle a packer would use. We check where it first touches the cavity and whether it settles into its seat under normal handling. We mark the supports on a photo. On a rectangular bottle, the base and shoulders can present different contact areas. We look at both and note which faces we intended to leave clear, including any decoration or label that might rub.
We then lift the bottle from the filled tray. We ask the reviewer to use the grip they would naturally choose. If they pull on the cap because there is no room for fingers at the bottle body, we record that observation. We compare the access with our guide to paper insert retention and removal. We can discuss changing a finger opening or support edge once the actual problem is visible.
A thread in r/PackagingDesign asking about alternatives to foam includes suggestions for molded pulp and questions about fragile or heavy contents. We use that discussion to ask which bottle will be hardest to support. We check the largest or heaviest relevant version where the same tray serves several SKUs. We look for a visible difference in how each bottle sits and record the variants we still need to see.
We agree how the buyer and supplier will investigate any mark or unwanted movement. We keep the approved decorative bottle alongside the sample tray, with the finish and drawing revisions identified. A short handling review can reveal a scuff worth investigating. We ask the responsible team to select further evaluation when the project needs evidence for shipment, repeated handling or a specific surface requirement.
Sources for this section: Reddit discussion about alternatives to foam3, Finer Pack guide to paper insert retention and removal4
| Contact area | What we observe | When to review again |
|---|---|---|
| Base and shoulders | Where the bottle rests | Bottle shape changes |
| Decorated face | Clearance and visible marks | Finish changes |
| Cap and grip area | Finger access and lift path | Closure or cavity changes |
How Do We Approve the Insert Inside the Finished Box?
A tray can seat well on the bench and rock inside a rigid box. We check the complete assembly before we release its parts.
We assemble the actual base, tray, bottle, lid and any leaflet or tissue. We check seating and lid clearance together. We link the accepted configuration to its drawing and sample revisions and flag the items that still need distribution or production review.
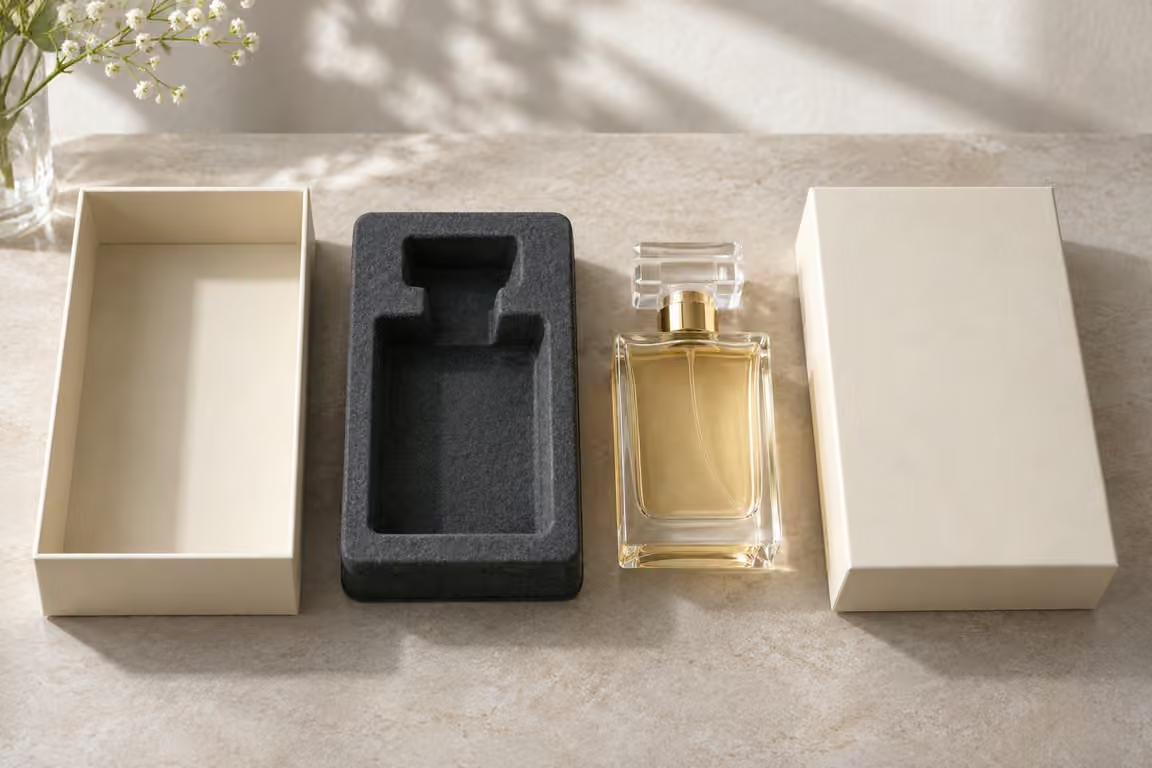
We check how the parts share the available space
We lower the tray into the intended box base and look along all four sides. We check whether the tray sits on its planned supports, rocks when lightly pressed or catches on the box wrap. We ask the supplier to explain the intended tray-to-box fit, including the agreed boundaries for the visible edges. If we add a sleeve or cover card, we place it in the sample before repeating the close.
We set the bottle in its normal shipping or presentation orientation and close the lid with the planned contents. We look for a lid that stops short or a tray that lifts as a cover card moves. If a cap projects high, we follow the separate lid-clearance guide and check the stack with the actual bottle. We record which layer moved instead of changing the outside box height by guesswork.
We build a second sample from the packing instructions. We check how the tray is oriented, where a packer holds the bottle and whether the packer can see that it is fully seated. A small change to the tray rim can affect both appearance and assembly. We document how the parts should look at each step and give the warehouse a reference it can compare with its first packed units.
We keep the accepted sample with its box, bottle and tray revisions. If a supplier proposes a different surface, or the brand revises the cap or box wrap, we revisit the affected fit and contact checks. We record any distribution evidence separately and link it to the packed system that was actually assessed. That gives the next buyer a clear basis for deciding whether the previous approval still applies.
Sources for this section: Finer Pack guide to perfume gift box lid clearance5
| Final assembly | What we compare | Approval record |
|---|---|---|
| Tray in base | Seating and visible edge fit | Box and tray revision |
| Filled box | Lid clearance and retained layers | Full configuration photo |
| Packing sequence | Repeatable tray and bottle placement | Reference sample |
Sources and Related Reading
- 1 International Molded Fiber Association process overview. Primary industry association description of molded fiber process types.
- 2 Intrecore pulp molding technology. Supplier example of prototype, pilot and serial production stages.
- 3 Reddit discussion about alternatives to foam. Community discussion about material choices and fragile contents.
- 4 Finer Pack guide to paper insert retention and removal. Further guidance on product access and retention geometry.
- 5 Finer Pack guide to perfume gift box lid clearance. Review the closed box over the complete filled assembly.
Conclusion
We approve the molded pulp insert with the finished bottle and box. We keep the sample stage, contact observations and assembly record together.