
Gift & Unboxing guide
How Do I Design Paper Inserts That Hold and Release Cosmetics?
A tight tray can trap the product, and a loose tray can let it move. We need retention and easy removal in the same design.
We design a paper cosmetic insert from filled dimensions, weight, contact points and the removal path. We sample the cavity with real containers, check access around the body and review the complete packed system. We do not treat a snug empty tray as proof of protection.
We use measurement, support and removal as separate checks so we can find the reason a tray works or fails.
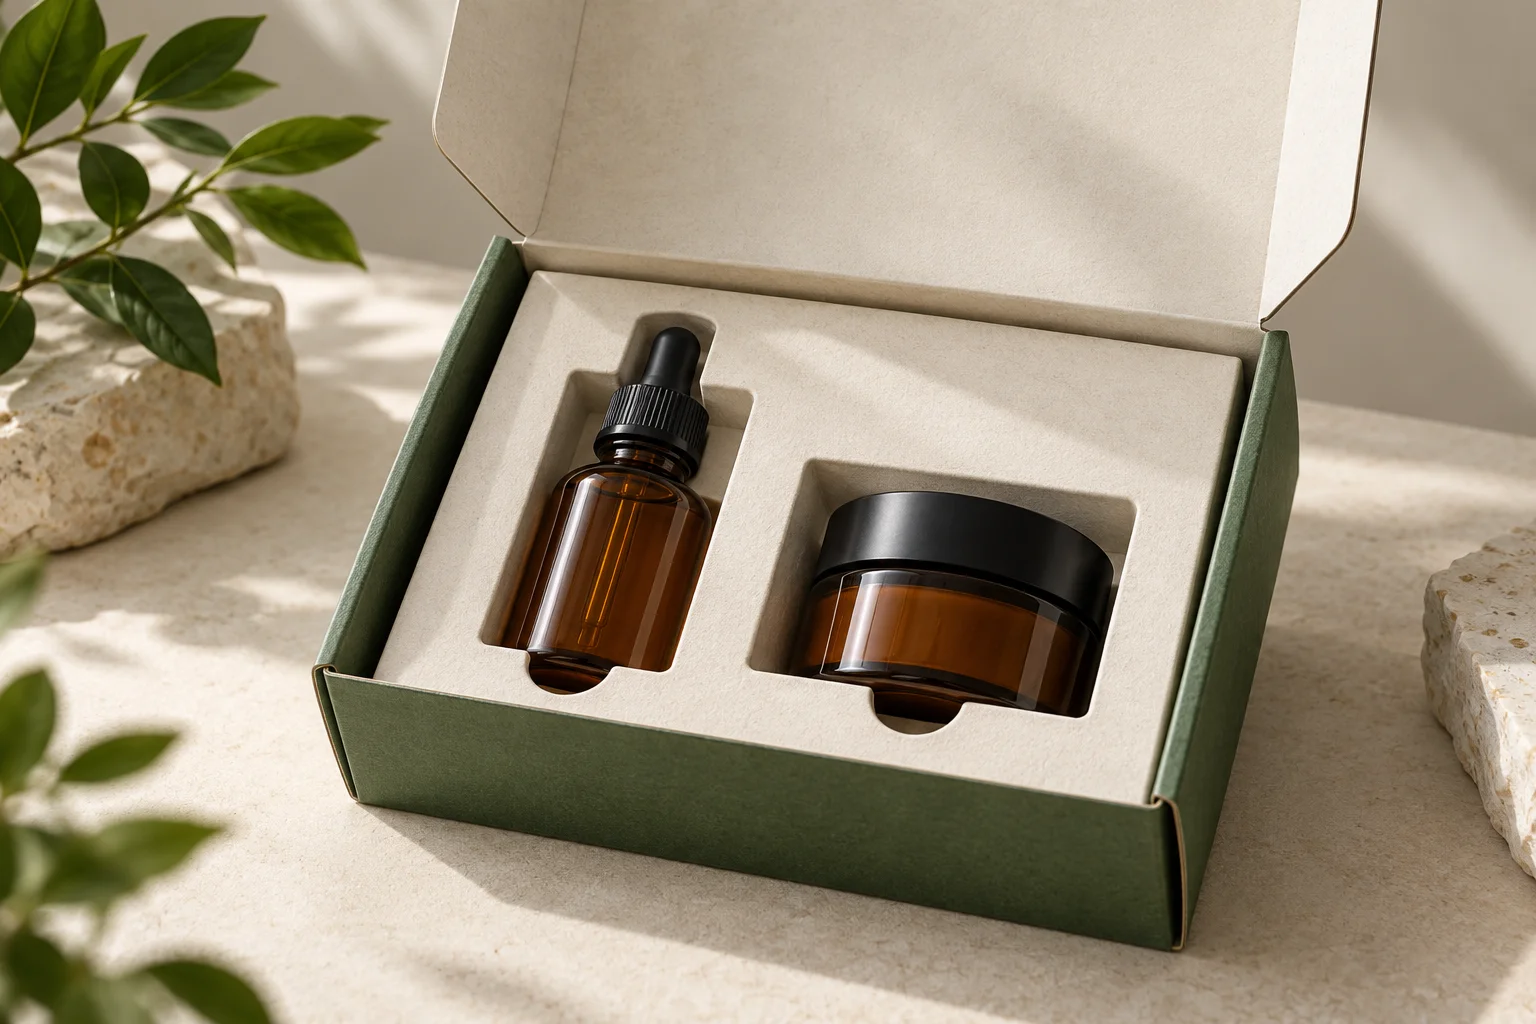
What Should I Measure Before I Draw a Paper Insert?
A bottle drawing can miss the cap, label or weight. We need the real packed object before we define the cavity.
We record the filled container dimensions, weight, cap and pump clearances, surface details and planned packing direction. We note variation across samples and leave unresolved dimensions open. We use those inputs to plan support and finger access before we approve the insert dieline.
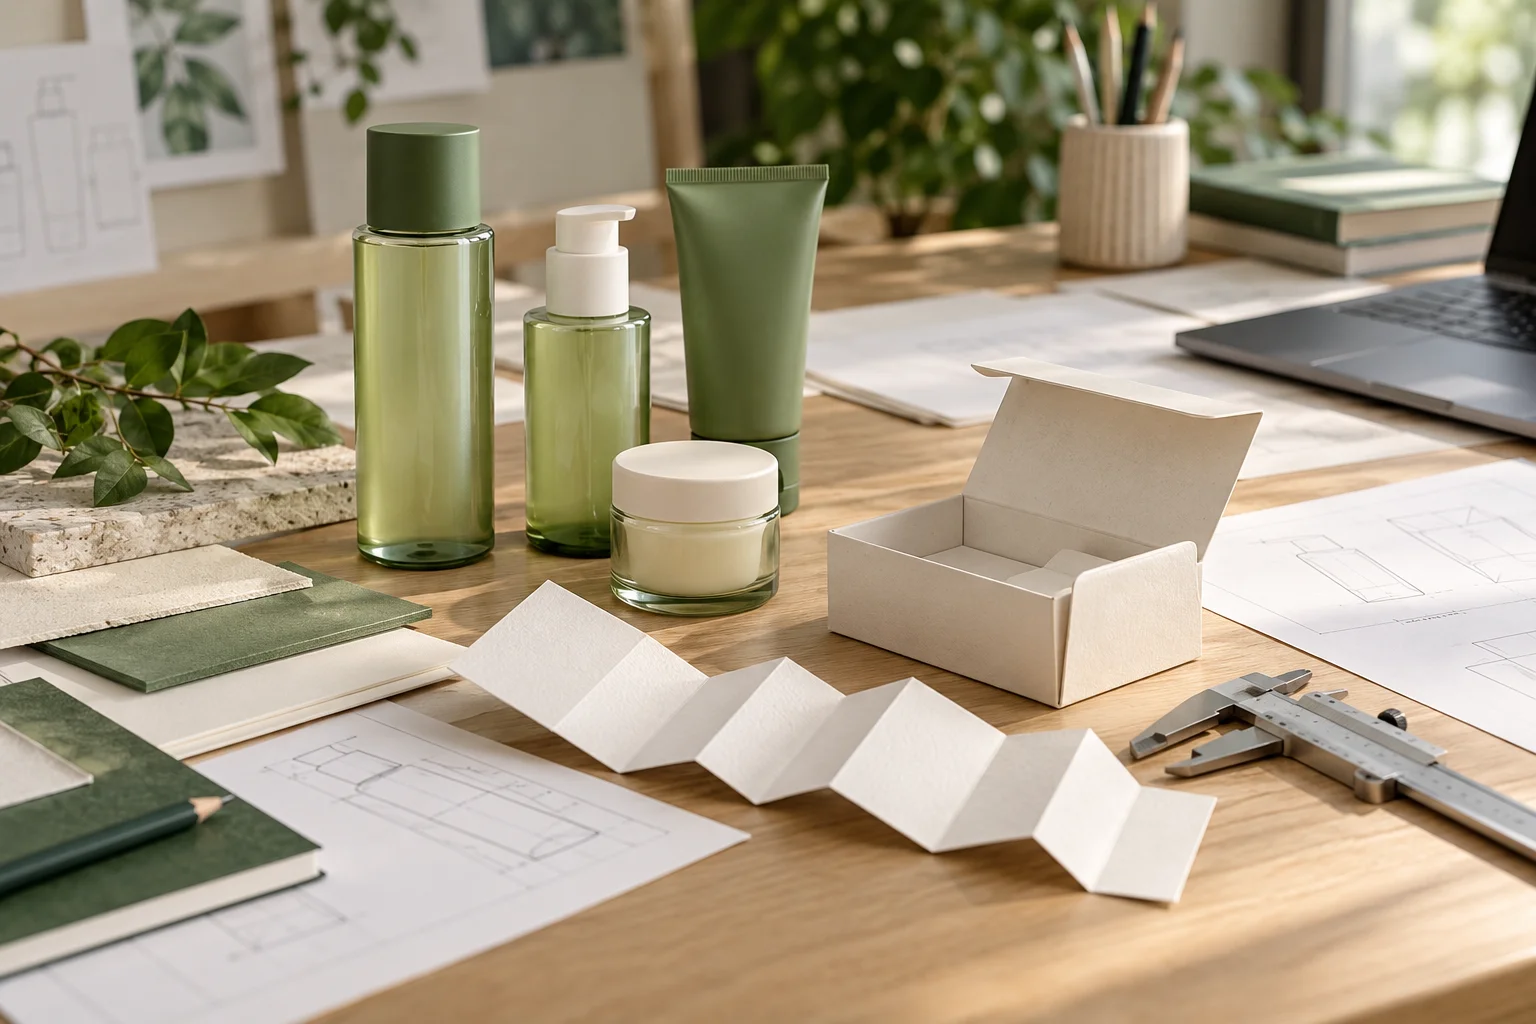
We define the object and the direction
We begin with a filled production example whenever one is available. We measure its widest points and its finished height. We include the closure and any pump or dropper parts that extend beyond the body. We note a label seam, textured finish or decorative feature that changes the contact surface. We also record the weight. We cannot understand the load on a paper tray from the bottle’s nominal capacity alone. We keep those measurements with the product version.
We next compare more than one container where the launch process allows it. We look for variation that might make one cavity hard to pack. We ask the product team which dimensions have tolerances and which parts may change. We do not choose a universal clearance from a blog example. We discuss the fit with the structural designer and review a physical prototype. We want the insert to be practical for the expected product range, rather than perfect for one hand-picked bottle.
We then decide the direction of the product inside the gift box. We ask whether the bottle stands upright or lies down, and whether the pack will be lifted or opened in another direction. We look at how the base, shoulder and body can be supported. We avoid using the cap as a convenient handle for the whole load without reviewing the closure. We keep the removal path in the same drawing so the tray does not solve retention while blocking the customer’s fingers.
We treat paper as a design direction that still needs a specification. We ask which board grade, fold and construction the sample uses. We do not assume two paper trays behave the same because they have the same outline. We note any glued joints, support panels and visible edges. We use Finer Pack’s sampling route to ask for a fit sample around the actual product. We hold artwork approval until the working geometry is understood.
Sources for this section: Finer Pack sample planning5
| Decision | What we check | Approval record |
|---|---|---|
| Container | Filled size, cap and surface | Product version and measurements |
| Load | Weight and packing direction | Support layout |
| Variation | Expected range and open changes | Fit-sample review |
How Do I Keep Retention Separate From Cushioning?
A tray may stop rattling and still pass a shock to glass. We need to understand what the insert is doing.
We use retention to limit unwanted movement and review cushioning as a separate job within the full pack. We check support points, panel bending and product contact. We agree any required packaged-product tests with a specialist instead of judging performance from a snug appearance.
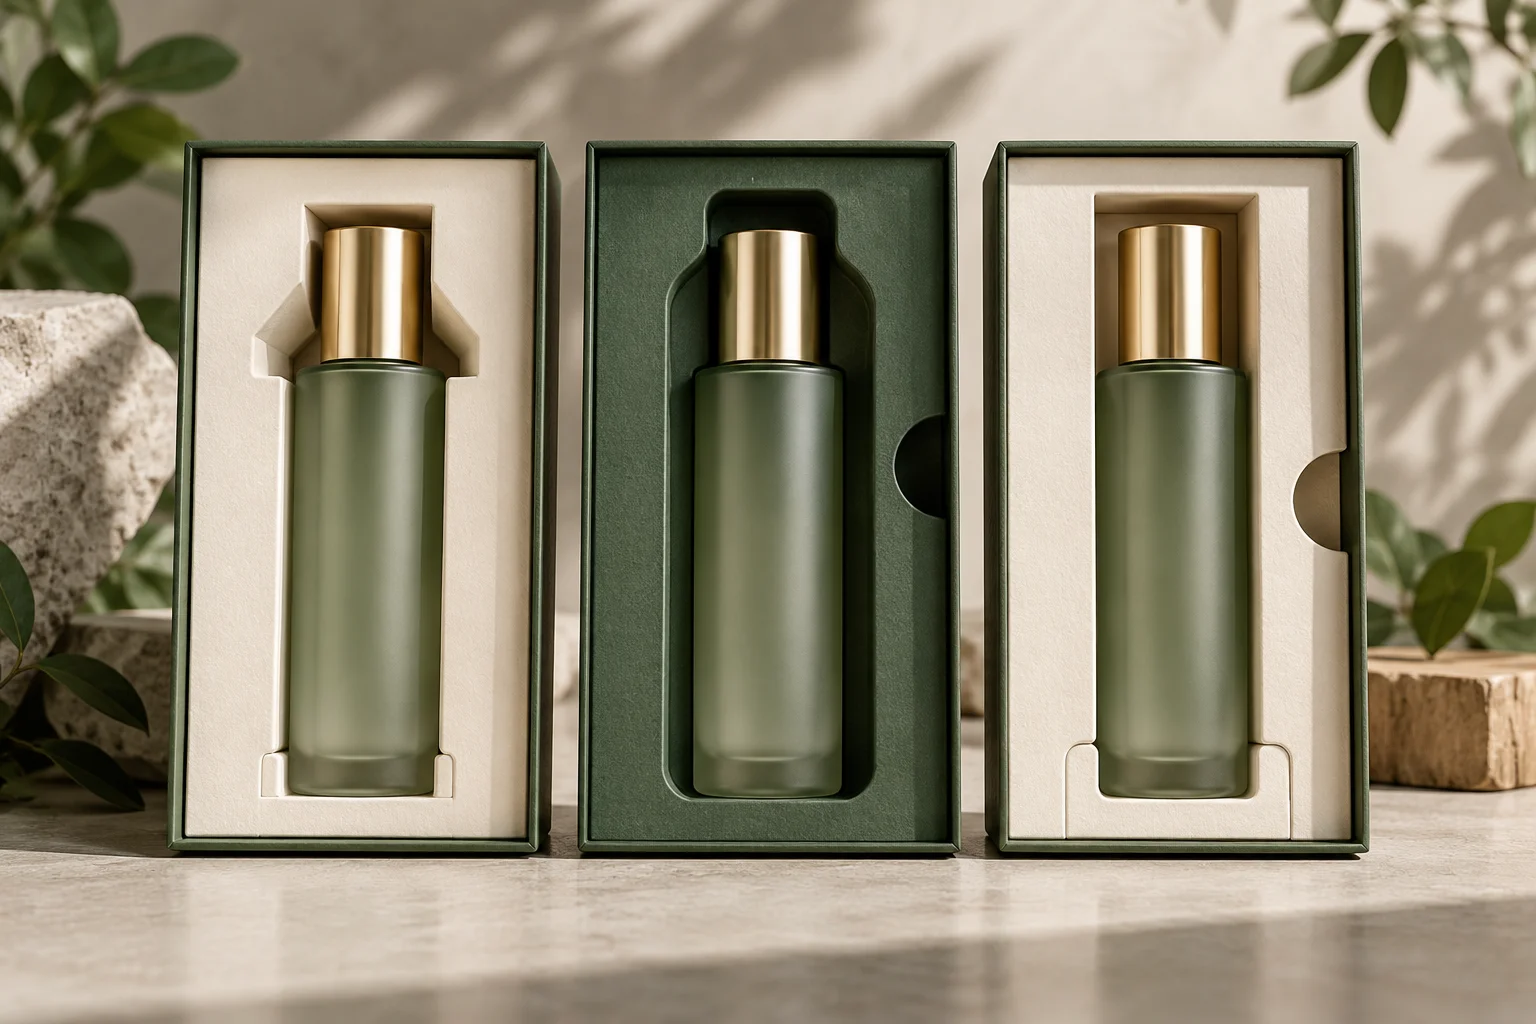
We assign each support a clear purpose
We first ask what movement the tray is intended to control. We look for sideways travel, lifting from the cavity and contact between neighboring items. We review how the folds and support panels keep the product in place. We also check whether the same support makes packing harder than necessary. We want the team to identify the working parts of the insert. We do not want a description that only says the cavity feels tight.
We then ask where a load can travel during handling. We inspect the bottle base, shoulder and closure area. We look for hard contact at a fragile feature or a panel that bends under the filled weight. We keep the paper tray’s role distinct from cushioning around the complete presentation box. Carrier guidance from FedEx describes restricting movement and planning protection for fragile goods. We use that guidance to frame questions about the full shipment, rather than to declare a paper insert sufficient on its own.
We compare alternatives using the same product and box. We may review a folded paperboard support, a formed paper tray or another insert material when the brief requires it. We ask the supplier to identify the exact construction. We do not rank them by environmental appearance alone. We record the fit, the product contact, the assembly steps and the proposed validation route. We let the sample show where a material choice needs another fold, more support or a different layout.
We also keep the evidence in proportion. We can report that a prototype reduces visible free movement during a fit review. We cannot turn that observation into a guarantee against parcel damage. We use ISTA's procedure overview to discuss route-based testing with a qualified laboratory. We make sure any evaluation concerns the actual packed product, not an empty decorative insert. We keep the report scope and the approved configuration together so later changes can be assessed.
Sources for this section: FedEx fragile-item guidance1, ISTA test procedure overview2
| Decision | What we check | Approval record |
|---|---|---|
| Retention | Unwanted travel and lifting | Fit-review observations |
| Support | Load path and contact points | Structural sample |
| Transit | Complete pack and route | Scoped evaluation record |
How Do I Make Removal Easy Without Making the Tray Loose?
A gift becomes awkward when we must pull on a cap. We need a clear hand path that preserves the tray’s support.
We add useful finger access around the product body and review the opening sequence with real users of the sample. We keep the support where it carries the product. We check removal, repacking and surface condition together before we approve the final layout.
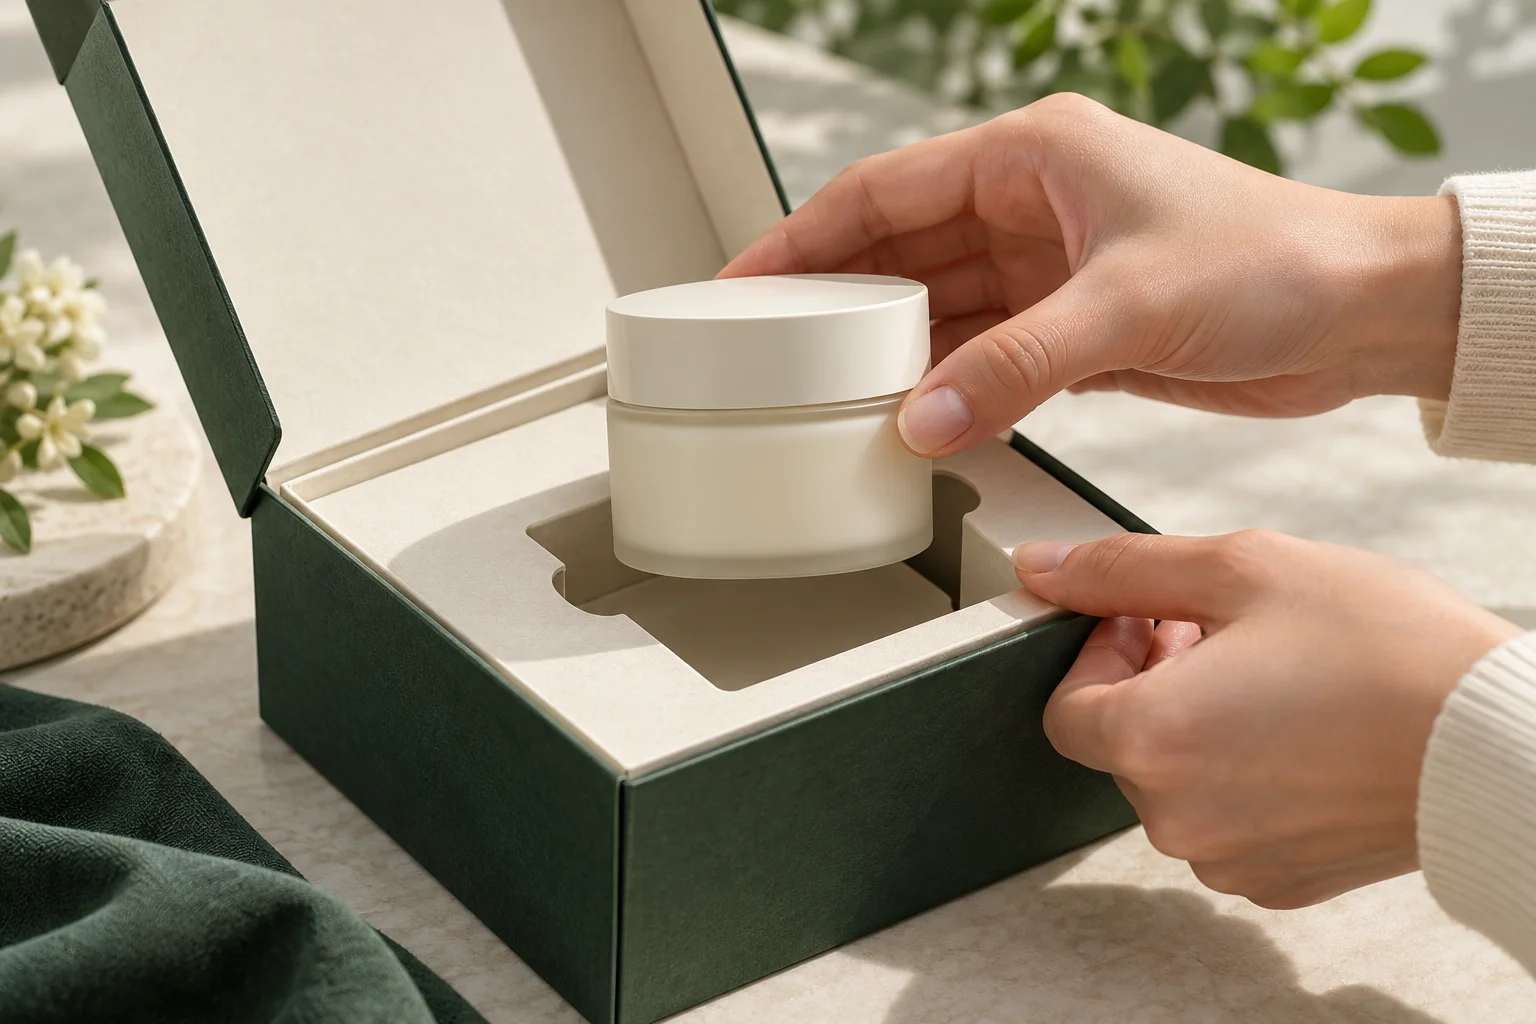
We observe the first opening without instructions
We place the closed sample in front of another person and ask them to open it. We give no instructions about where to pull. We watch which part of the product they reach for and how they hold the box. We note any need to tip the tray, press a sharp edge or grip the closure. We use those observations to improve the design. We do not call a small sample review an accessibility certification or a study of every buyer.
We then review the finger spaces. We can consider a notch, a lift area or an exposed part of the container body. We place that access near the intended grip, rather than wherever it looks neat in a render. We ask whether the feature interferes with the support panel or leaves an item free to move. We prototype the revised layout around the product. We also check the edge finish so the access point feels reasonable during handling.
We include repacking in the review. We ask whether the product can be put back in the tray without forcing the cap or damaging the paper. We consider whether a gift buyer may inspect the set before giving it. We read Reddit packaging complaints as reminders that opening effort can shape the whole experience. Many comments concern primary containers, so we do not claim that they test our secondary carton. We use the concern to ask a narrower question about our own box and tray.
We finish by recording the packing and opening choices. We keep the product direction, insertion steps and removal access in the approval notes. We ask the team to review surface rubbing after repeated handling of the sample. We decide which changes affect fit and which only affect decoration. We use a drawer or lid-and-base format only when its opening sequence suits the set. We want the final tray to hold the product for packing and release it for the person who receives it.
Sources for this section: Reddit packaging opening discussion3, Finer Pack drawer boxes4
| Decision | What we check | Approval record |
|---|---|---|
| Grip | Body access and finger space | Observed first opening |
| Support | Tray strength around the notch | Revised fit sample |
| Repacking | Insertion effort and marks | Handling review notes |
Sources and Related Reading
- 1 FedEx fragile-item guidance. Carrier guidance on movement and protection; not a specification for this tray.
- 2 ISTA test procedure overview. Primary reference for discussing complete packaged-product evaluation.
- 3 Reddit packaging opening discussion. Community opening frustrations, mainly about primary packs; used as a design question, not direct tray evidence.
- 4 Finer Pack drawer boxes. Internal presentation and access options.
- 5 Finer Pack sample planning. Internal fit and approval inputs.
Conclusion
We approve a paper insert when its measurements, support and removal path work together in the complete pack, with the limits of each check recorded.