
Production guide
Pre-Production Packaging Sampling: Which Sample Do I Need?
A sample can look impressive and still prove the wrong thing, leaving fit, color, finish, or transit risk unresolved.
We use pre-production sampling to test decisions that become expensive after mass production starts. We match the sample to the risk: a white sample checks structure, a printed proof checks layout, and a production-equivalent sample checks critical material and finishes.
We plan a sample path around the decisions we need to approve, then we keep each approval tied to a named version.
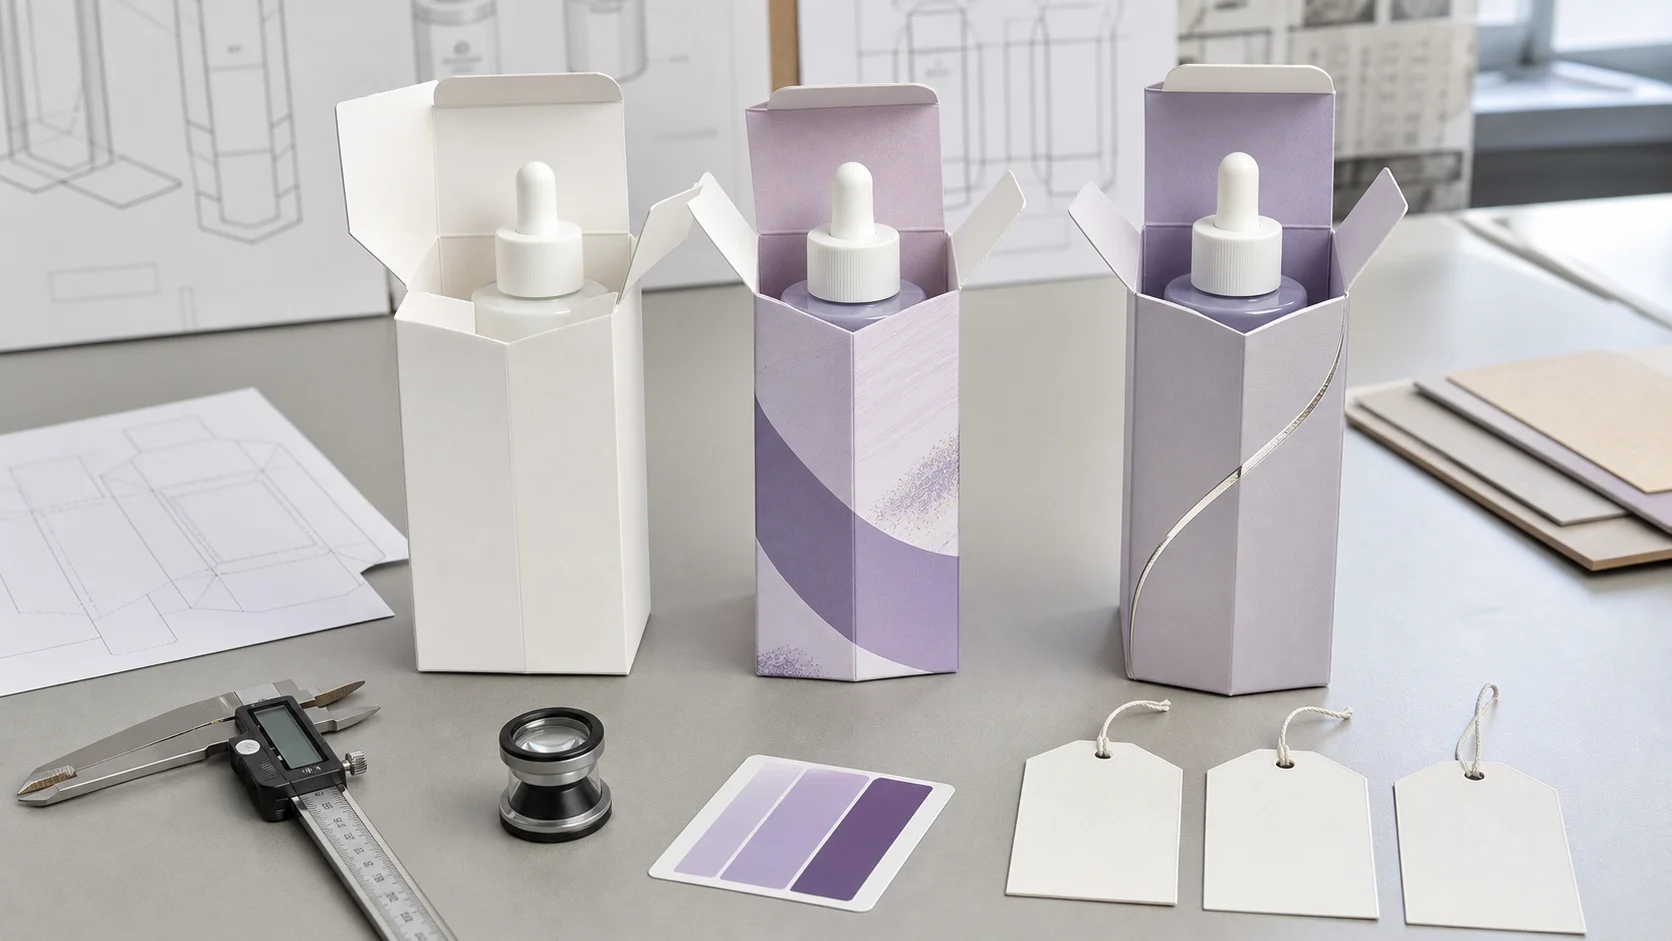
Which Packaging Sample Should I Request?
A white prototype cannot approve final color, and a polished render cannot prove that the real product fits or comes out easily.
We choose the sample from the risk. We use a white sample for structure and fit, a digital printed sample for layout and approximate appearance, and a production-equivalent sample for critical board, color, foil, embossing, or coating.
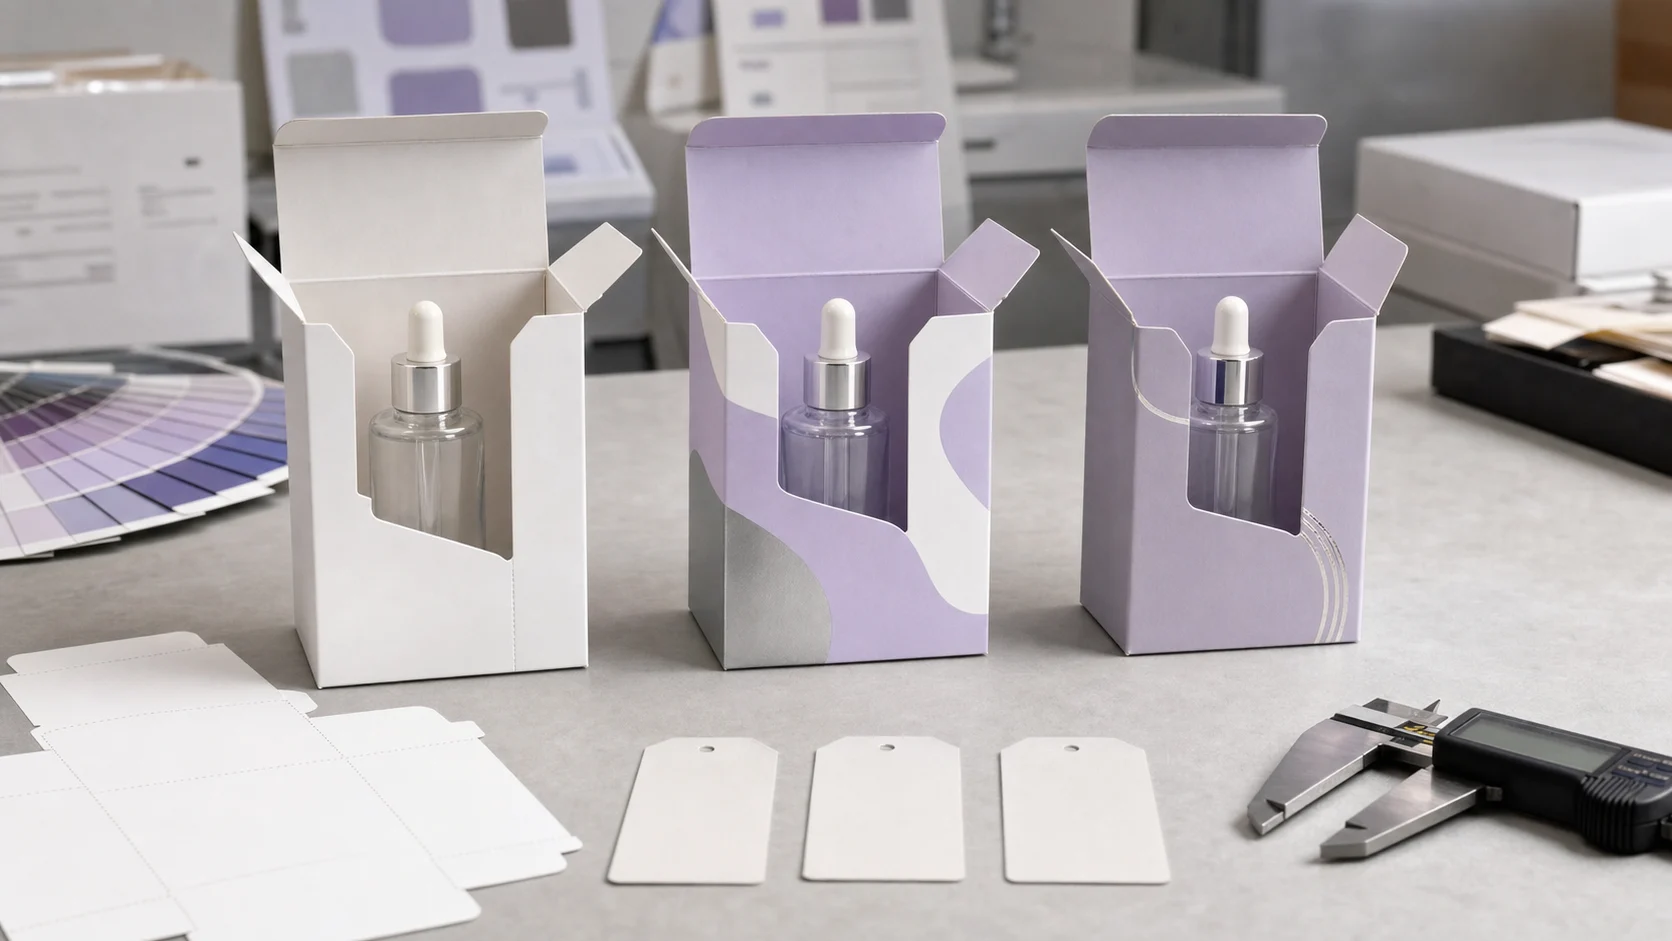
We ask one sample to answer one clear question
We start with a risk list. If the product dimensions, insert, closure, or removal path are open, we request a plain structural sample first. It can be cut from the intended board or a close substitute. We pack the real product and check clearance, movement, balance, panel bowing, and access. We do not reject a white sample because it lacks final decoration. That is not its job. When the dieline is stable, we use a printed sample to review panel order, copy size, barcode space, image placement, and general color direction. Digital printing can differ from the final press, so we label the color as approximate unless the process is production-equivalent. If the launch depends on a deep brand color, metallic foil, embossing, soft-touch surface, or exact paper, we plan a closer sample with the intended materials and tools.
We also consider the complete pack. A retail carton may fit well but fail inside the shipper. An insert may hold the product at first but collapse after compression. A tear strip may open cleanly on an empty mailer and tear badly after loading. We therefore test the sample in the stage where the risk appears. We use the product, labels, closures, insert, outer box, and packing method together. If transport performance matters, we plan a packaged-product test around the real route and load. A sample program does not need every possible prototype. It needs the least expensive physical evidence that can answer each open question. This keeps development simple while protecting the decisions that are hard to reverse.
| Sample | Decision it can support | Decision it cannot prove alone |
|---|---|---|
| White sample | Dieline, fit, and handling | Final color or finish |
| Digital printed sample | Layout and approximate appearance | Exact production press result |
| Production-equivalent sample | Critical material and finish | Full batch consistency |
| Packed transport sample | Route-related protection | Retail appearance under all lighting |
How Should I Test a Packaging Sample?
A sample approved on a conference table can fail when a packer loads it, a courier drops it, or a customer opens it.
We test the sample with the real product, real packing sequence, and expected handling. We record fit, movement, closure, removal, stacking, surface damage, and open issues. We use formal transport procedures when the delivery risk justifies them.
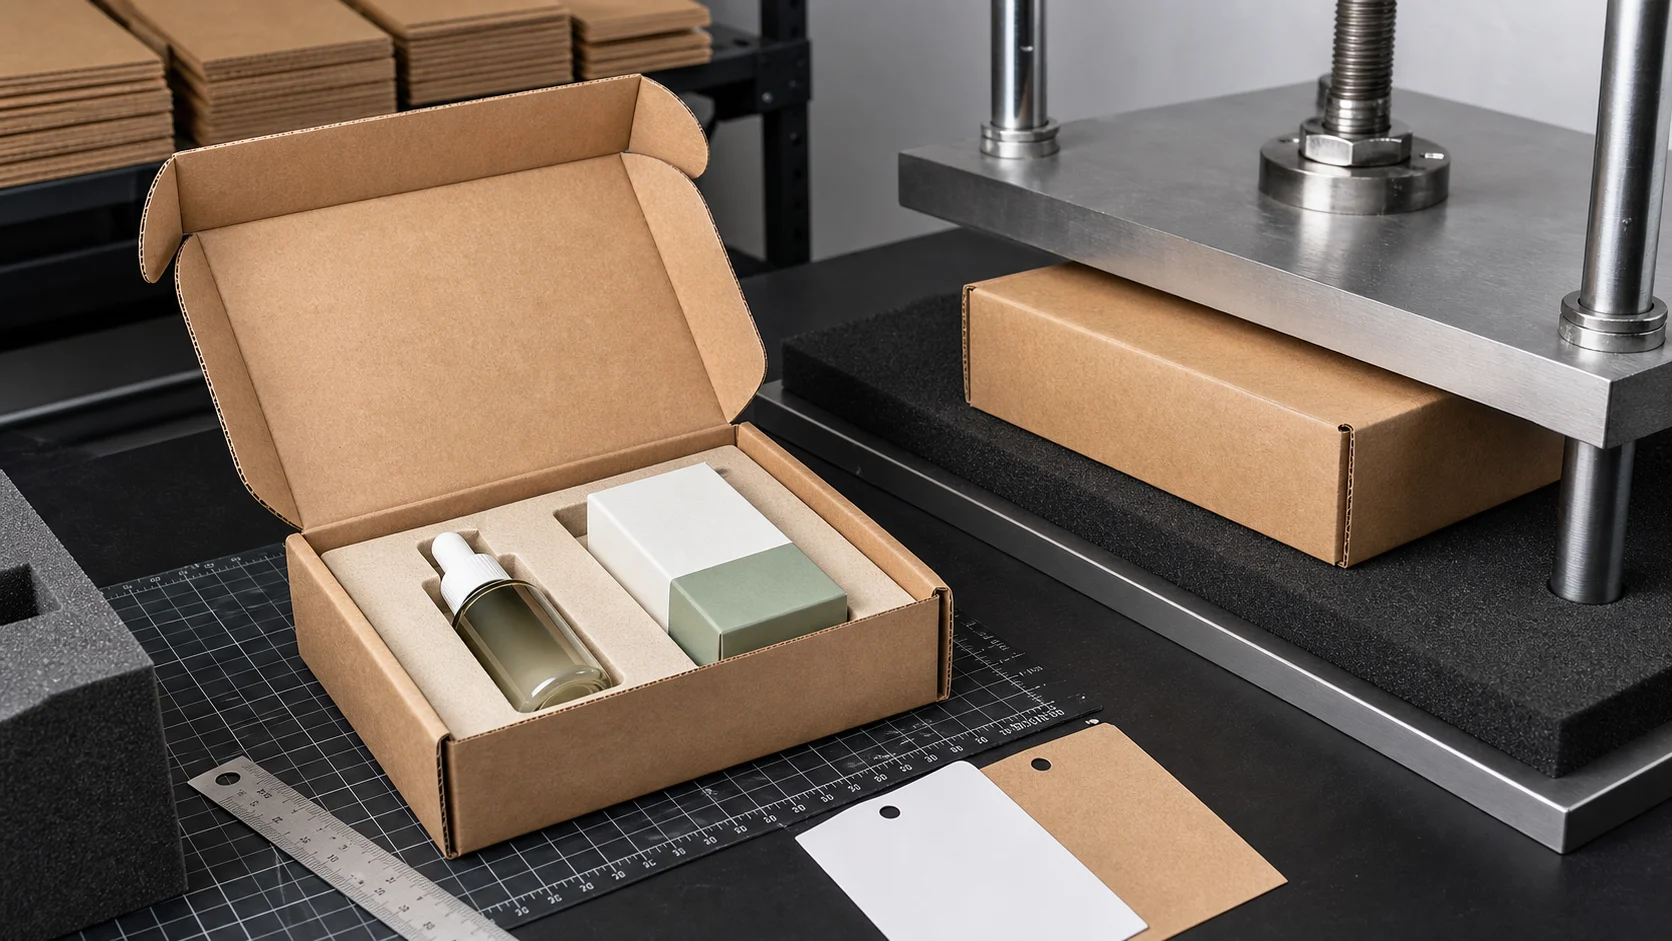
We recreate the moments that can expose failure
We begin at the packing station. We ask the intended packer to assemble the box without special coaching. We time the sequence and watch where panels catch, tabs bend, or inserts need force. We check whether the product enters in the correct direction and whether labels or delicate surfaces rub. We close the pack and inspect panel alignment. Then we ask another person to open it. We watch for unclear tear points, trapped products, sharp edges, and a reveal that depends on turning the box upside down. We gently shake the pack and listen for movement. We stack several samples and look for base bowing or lid pressure. We do not treat these checks as a certified transport test. They are practical observations that find basic problems before a formal plan or larger sample run.
For shipment risk, we define the distribution route, product weight, pack-out, and expected hazards. ISTA publishes procedures for packaged-product testing, while the right procedure still depends on the system and objective. We work with a qualified lab or test partner when evidence matters. We keep the tested sample and report connected to the exact bill of materials and packing method. A result from a lighter product or different insert does not automatically transfer. We also inspect appearance after testing. A box can protect the product but reach the customer with crushed corners or rubbed print that damages the brand experience. If the sample fails, we change one cause at a time when possible. We may tighten a cavity, change board, add a support, or revise a closure. Then we repeat the relevant test instead of assuming that the change solved the whole system.
How Do I Turn Sample Feedback into Approval?
Comments spread across chats and unnumbered samples can send an old dieline or rejected color into production.
We give every sample and proof a version. We collect comments in one record, separate required changes from preferences, and state what each approval covers. We keep the signed reference and final files available during production quality checks.
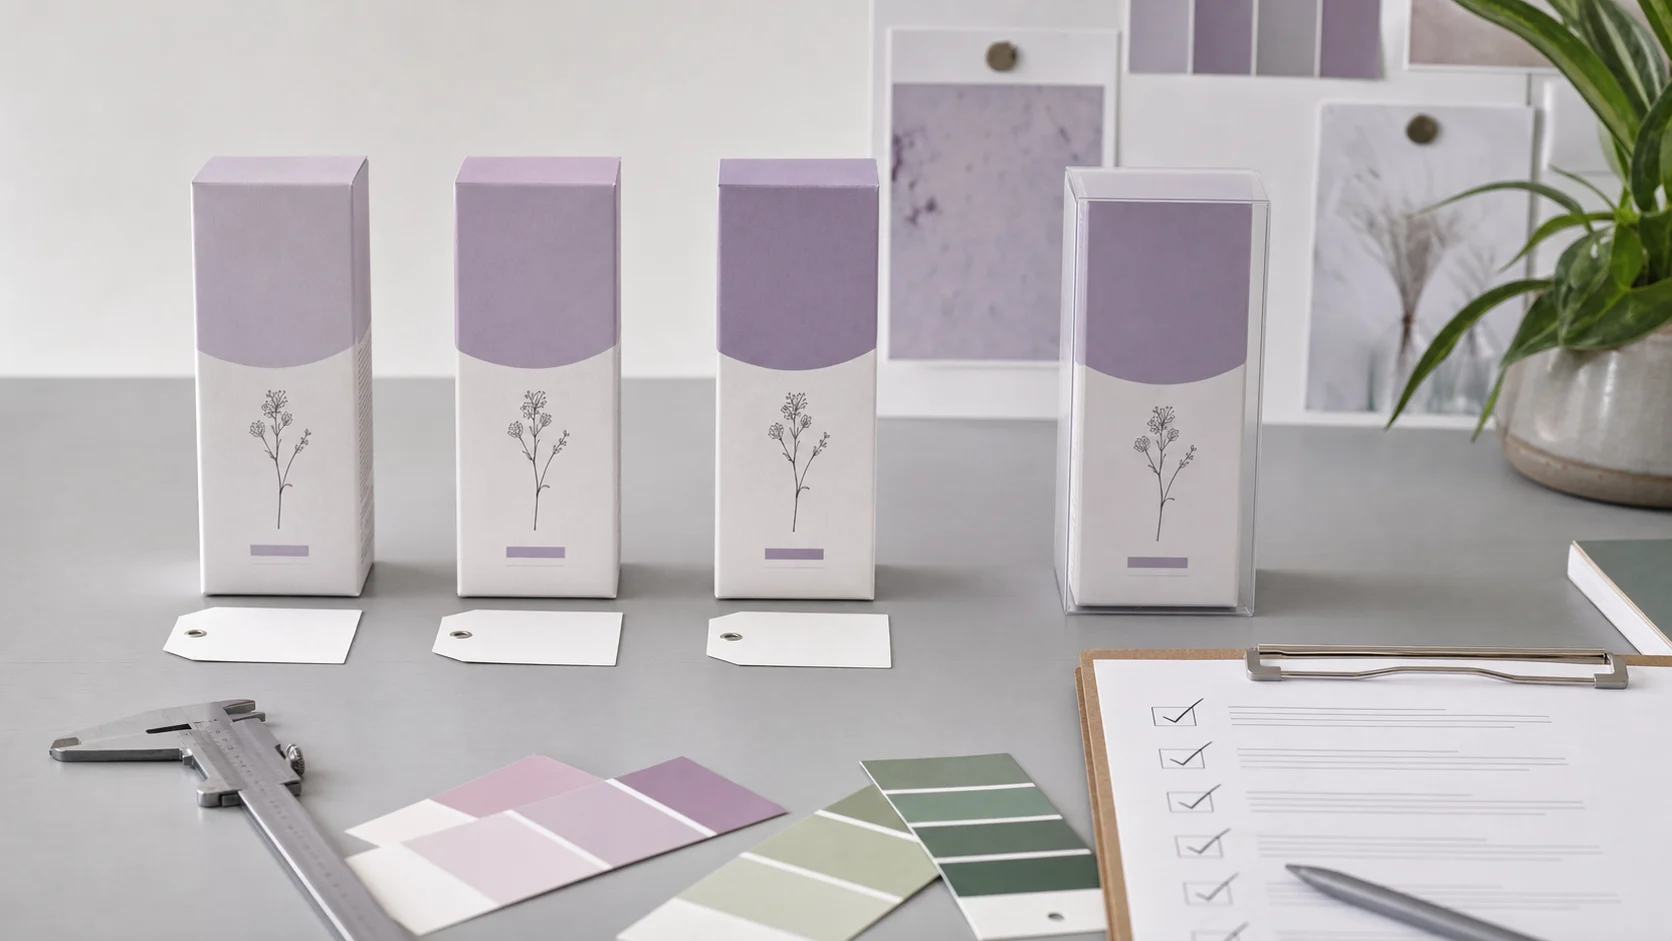
We approve a version, scope, and remaining tolerance
We label the physical sample, dieline, artwork, and finish reference with the same version. We photograph key views and record the date. Our feedback names the panel or feature, the observed problem, the required change, and who owns it. We avoid comments such as make it more premium because they do not define a production action. We might ask for a wider thumb notch, more clearance around a pump, a smaller foil area, or a corrected color target. We separate required changes from optional ideas so the supplier knows which points block approval. If a structure change moves panels, we reopen artwork review. If a material change affects color or relief, we reopen finish review. This link between changes and approvals prevents a small technical edit from bypassing the design team.
Our approval states what the sample proves. We may approve the dieline and product fit while leaving production color open. We may approve a foil tone while leaving registration tolerance subject to the final artwork. We do not use the word approved without a scope. We also keep the approved sample or signed standard for production inspection. A single sample cannot guarantee every unit, so we agree on measurable criteria such as dimensions, color reference, finish position, adhesion, packing count, and acceptable defect limits. When mass production begins, the quality team can compare output with the same reference we approved. This closes the loop from design intent to a repeatable check. It also gives both buyer and supplier a clearer way to discuss a difference without relying on memory.
Sources and Related Reading
- 1 ISTA test procedures. External packaged-product testing reference.
- 2 Cosmetic packaging sampling service. Internal sampling routes for structure, artwork, color, and finish decisions.
- 3 Folding cosmetic cartons. Internal structure options.
- 4 Premium paperboard cartons. Internal material and finish options.
- 5 Start a sample brief. Internal inquiry path.
Conclusion
We match every sample to a risk, test the real packed system, and approve only a named version with a clear scope.