
Retail guide
How Do I Place and Verify Barcodes on Cosmetic Packaging?
A barcode can be correct in the file and still fail when a fold, gloss, distortion, or poor placement reaches the printed pack.
We place a barcode on a stable, accessible panel with clear space around it, then verify the final printed component. We confirm the identifier, symbol type, size, contrast, orientation, packaging process, and scan result with the responsible barcode and print teams.
We use a three-step review so a retail requirement does not become a last-minute graphic compromise.
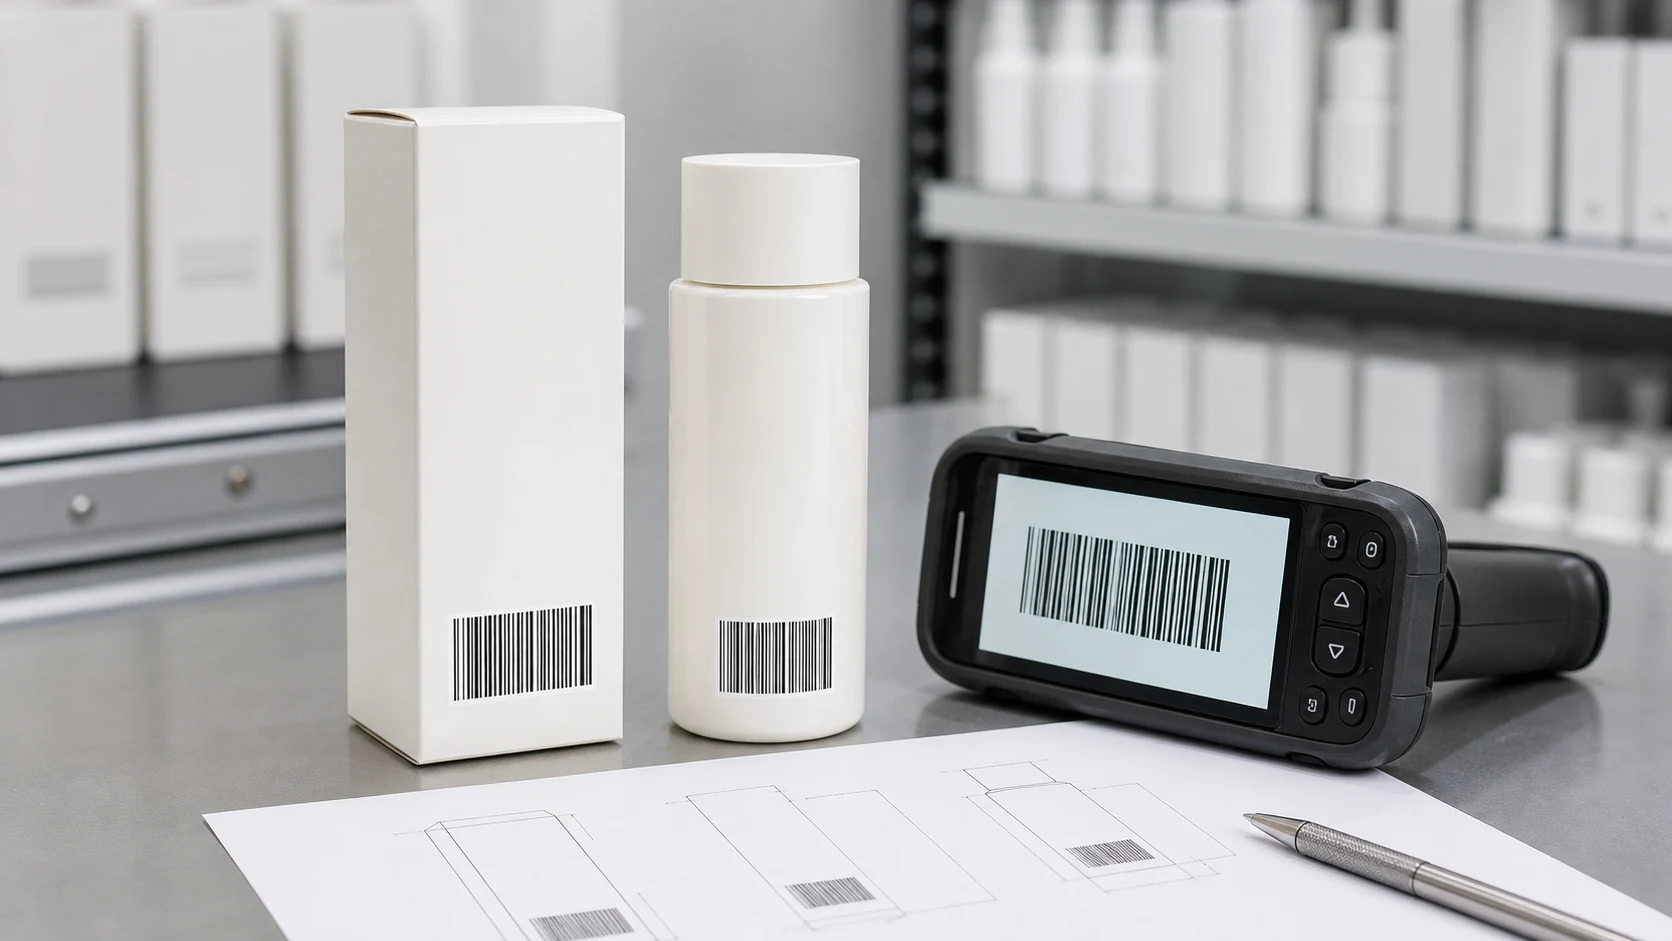
Which Cosmetic-Packaging Panel Should Carry My Barcode?
A barcode placed where the artwork has spare room can become hard to scan after folding, sealing, labeling, or shelf handling.
We reserve the barcode area before we finalize decoration. We choose a panel that remains accessible, flat enough for the symbol, and clear of folds, glue, seams, and other packaging features. We confirm the intended market and package level with the barcode owner.
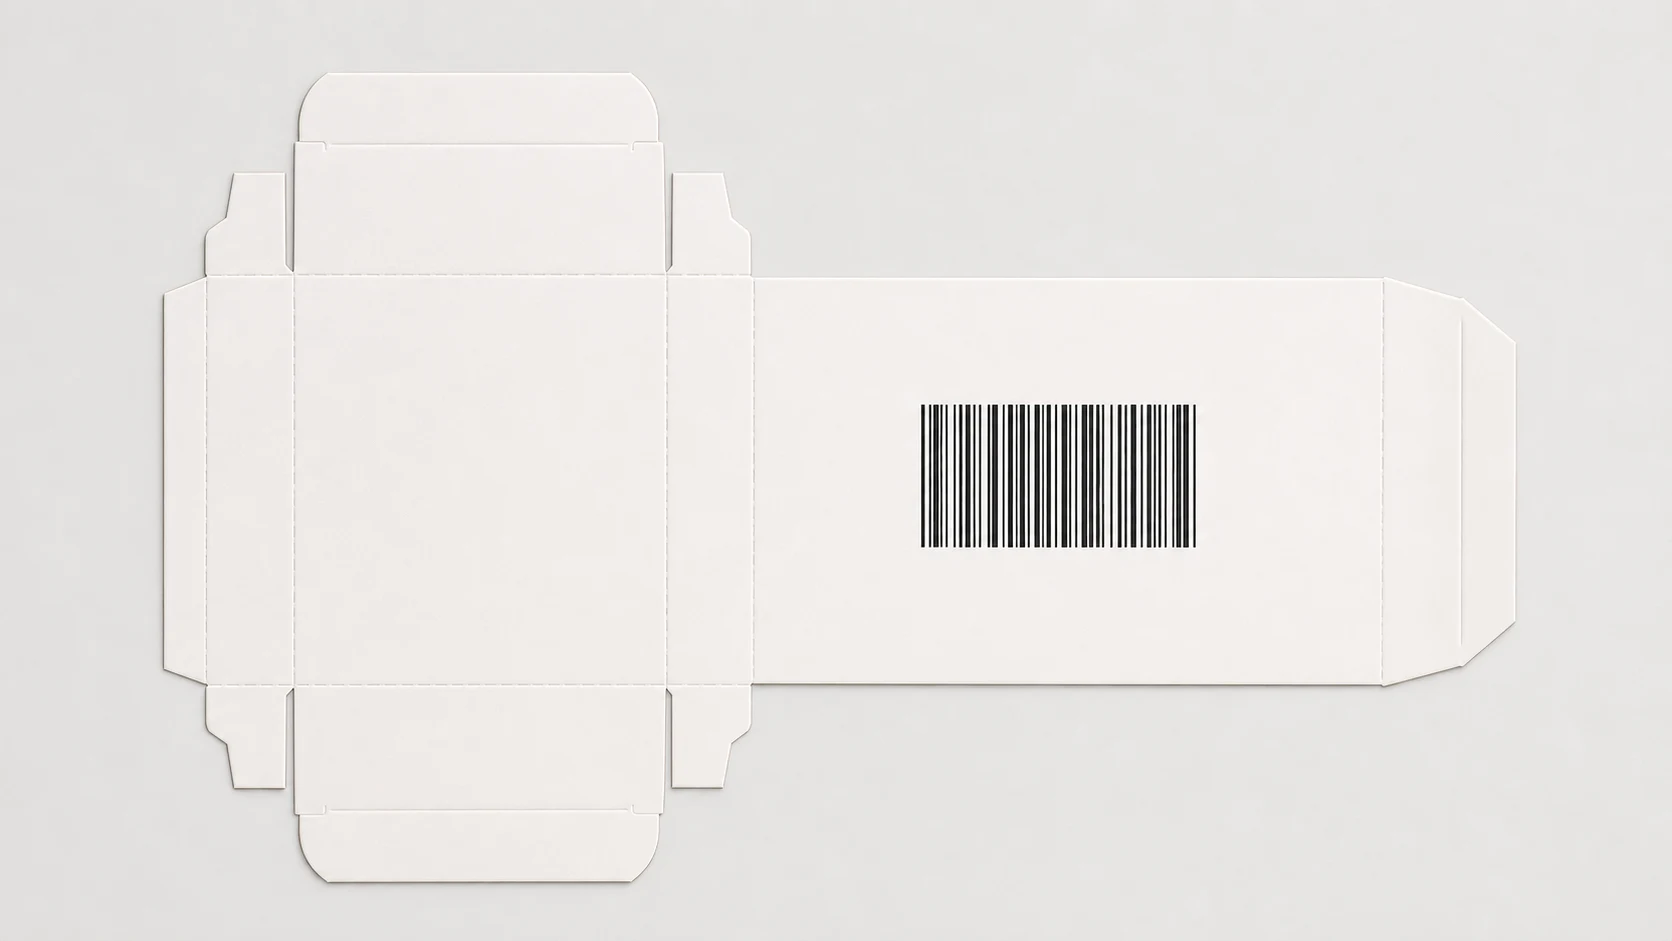
We select the placement from the real package route
We begin with the identifier owner and the selling route. We do not invent a barcode number or choose a symbol type from a design preference. The brand's GS1 or data owner confirms the product identity, market, and package level. We then work with the packaging engineer and converter to find a practical panel. GS1 says barcode size, placement, and quality depend on where the symbol will be scanned. Its guidance also says placement should account for the packaging process so the symbol is not hidden or damaged by a carton edge, fold, flap, or another layer. We treat that as a physical planning rule. We print the dieline, fold it, and look at the candidate panel from the way the pack will sit, ship, and be handled.
We reserve enough clear space around the code and avoid putting another design element into that area later. We do not stretch a barcode to fill a narrow strip. We do not place it across a score simply because the back panel looks busy. A cylindrical bottle, a small tube, and a folding carton create different placement questions, so we ask the converter to confirm the actual component. We also decide whether the barcode belongs on the primary pack, a retail carton, a multipack, or an outer case. Those items may need different identifiers and handling rules. Our artwork file shows the barcode area as a requirement, not leftover space. This decision makes later copy and decoration review simpler because everyone can see what must remain clear.
| Placement check | What we confirm | Problem we avoid |
|---|---|---|
| Market and package level | Correct identifier owner and use | Using one symbol for the wrong pack |
| Panel choice | Accessible, stable surface | A code hidden by a flap or edge |
| Clear space | No competing graphics nearby | Reduced scan reliability |
| Physical dummy | How the pack folds and sits | A good flat layout that fails when erected |
How Do Print Choices Affect Barcode Readability?
A clean vector pattern can still become difficult to read when printing, coating, board texture, or a fold changes its final appearance.
We keep the barcode review tied to the actual material and print process. We check contrast, quiet zones, symbol size, orientation, coatings, seams, and distortion on a representative sample. We ask the converter which conditions are most sensitive for that component.
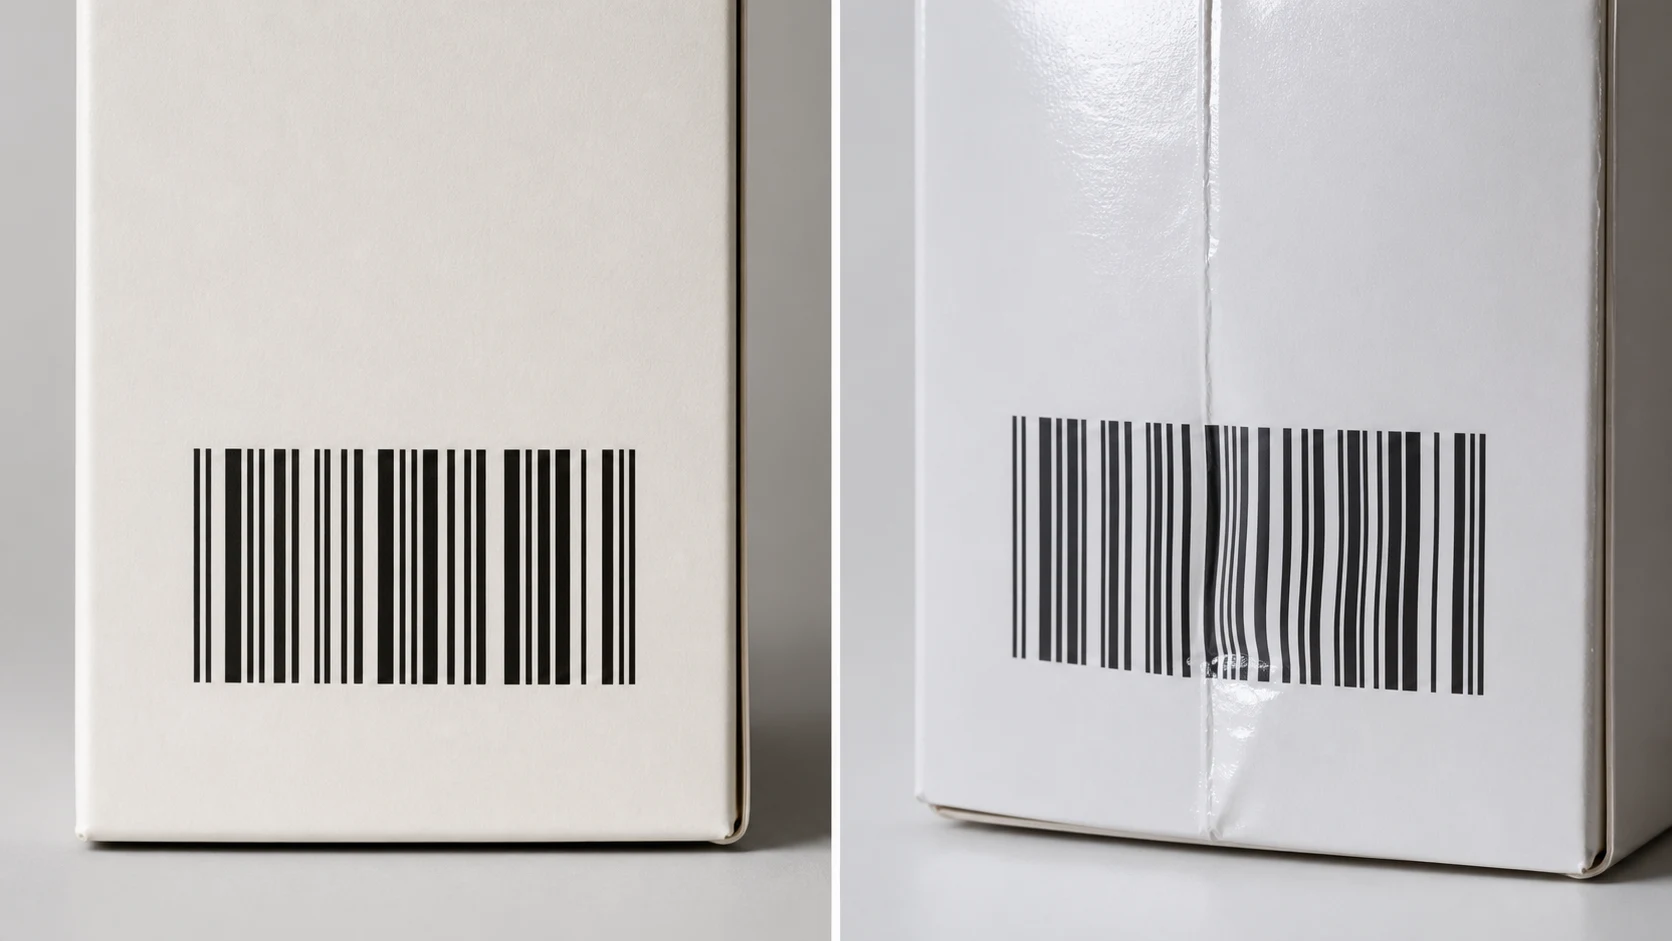
We review the printed mark, not just the digital symbol
We keep the barcode artwork supplied or approved by the responsible data owner. We do not redraw the bars as decorative lines. We then discuss print conditions with the converter. GS1 lists quiet zones, contrast, color choice, symbol construction, size, height, packaging features, damage, and placement among the points to check for barcode quality. We use this list as a review prompt rather than a universal production specification. A light matte carton may present a different risk from a metallic label, a glossy coating, or a curved bottle. We ask which board, ink, finish, and print process will carry the actual symbol. If a finish covers the barcode area, we request a focused sample or an alternative panel before final art approval.
We also keep the barcode away from changes in the package surface. A fold can distort bars. A seam, wrinkle, or shrink film can break a scanner's view. A narrow space can tempt a designer to reduce the symbol or crowd the quiet area. We do not solve those problems by hoping a phone camera will read one sample. We make the design team, data owner, and converter review the same printed component. We check the label placement and the carton orientation as it will be packed. If the final pack must be scanned at a certain point in the supply chain, we include that in the review. A barcode is functional artwork. It deserves the same controlled proof path as a critical color or regulatory line.
| Print factor | Question we ask | Review method |
|---|---|---|
| Contrast | Do bars and background remain distinct? | Inspect the intended print and finish |
| Surface | Will glare, texture, or coating affect the area? | Compare representative samples |
| Geometry | Does a fold or curve distort the symbol? | Review erected pack and label position |
| Space | Are quiet zones and symbol size preserved? | Check artwork against the supplied requirement |
When Should I Verify the Finished Barcode?
A prepress check cannot prove that a printed run, coating, or packing step preserved the barcode on the finished component.
We verify after the barcode is rendered on the intended component. We use the agreed verification method, retain the result with the approved artwork, and repeat the check when the material, print method, finish, symbol, or placement changes.
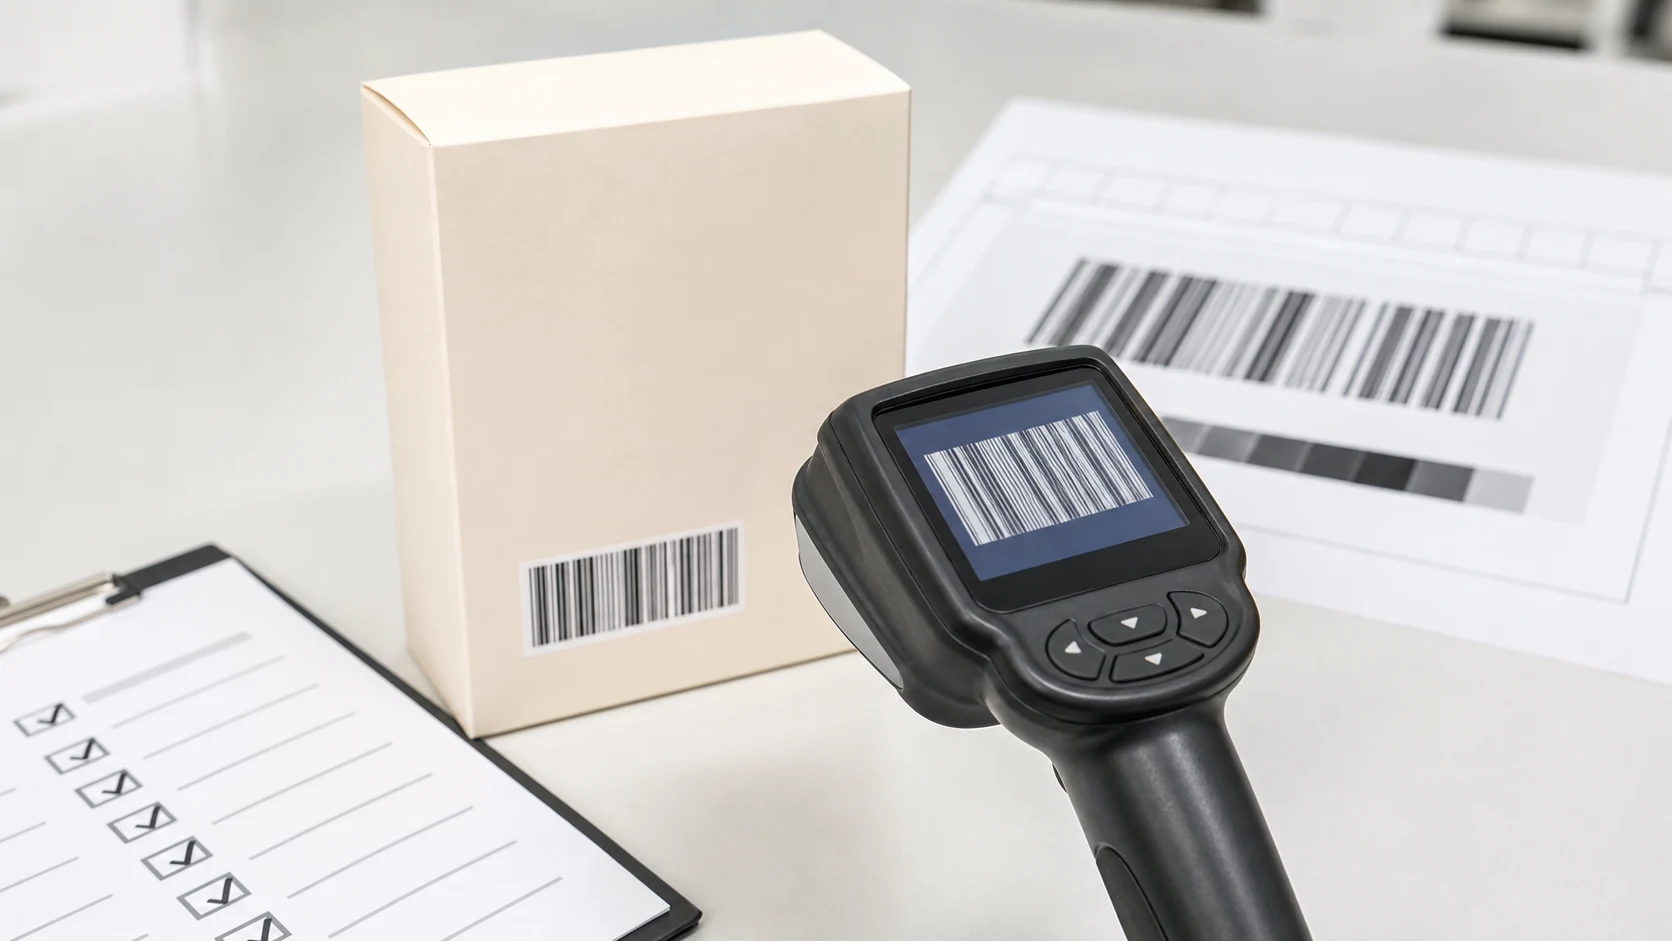
We make verification part of release, not an afterthought
We schedule verification before we call the pack ready for retail. GS1 describes print-quality verification as a step after the barcode image is rendered, either inline or on a sample basis, using devices and methods aligned to the application requirement. We ask the responsible barcode owner and converter who will perform that check and what report or result they need. We keep this work separate from an informal phone scan. A quick scan can be a useful development observation, but it does not replace the agreed verification path. We record the component, artwork version, material, print process, finish, and sample date beside the result. This makes the evidence meaningful when a later question arises.
We repeat the review when a relevant input changes. A revised barcode, a different label stock, a new coating, a changed print process, or a moved panel can change the final condition. We do not assume that a passed carton proves a passed bottle label. We also make the final artwork and barcode record available to the supply team. A packaging designer can protect the barcode area, but the product-data owner still controls the identifier and the retailer may have its own requirements. One Reddit packaging discussion shows why practitioners ask about barcode type and market before making artwork decisions. We treat that as community perspective, not an authority. Our reliable rule is to verify the actual printed pack against the correct requirements before we release it.
| Verification record | What we capture | Why it matters |
|---|---|---|
| Sample identity | Component and artwork version | Links the result to the exact pack |
| Production condition | Material, process, finish, placement | Shows what the result covers |
| Result | Agreed verification output | Confirms the release decision |
| Change trigger | New symbol or production condition | Tells us when to recheck |
Sources and Related Reading
- 1 Folding cosmetic cartons. Internal carton panels and print options.
- 2 Packaging capabilities. Internal artwork, proof, and production context.
- 3 Start a packaging brief. Internal route for sharing market, component, and artwork requirements.
- 4 GS1 barcode implementation steps. Official guidance on placement and packaging-process considerations.
- 5 GS1 barcode quality checks. Official checklist of barcode quality factors.
- 6 Reddit barcode discussion. Attributed community discussion about selecting a barcode type for packaging.
Conclusion
We protect the barcode area early, review the printed conditions honestly, and verify the finished component before retail release.