
Retail guide
How Do I Brief a Beauty Counter Display for Retail?
A display can look strong in a render and still fail when products lean, refill stock has no place, or the retail counter is smaller than expected.
We brief a beauty counter display from the real product set, retail footprint, facing count, replenishment method, and assembly path. We sample the loaded display, inspect it at shopper distance, and test the complete packed system before production.
We use these three questions to turn a launch display idea into a practical structure that retail staff can place, refill, and maintain.
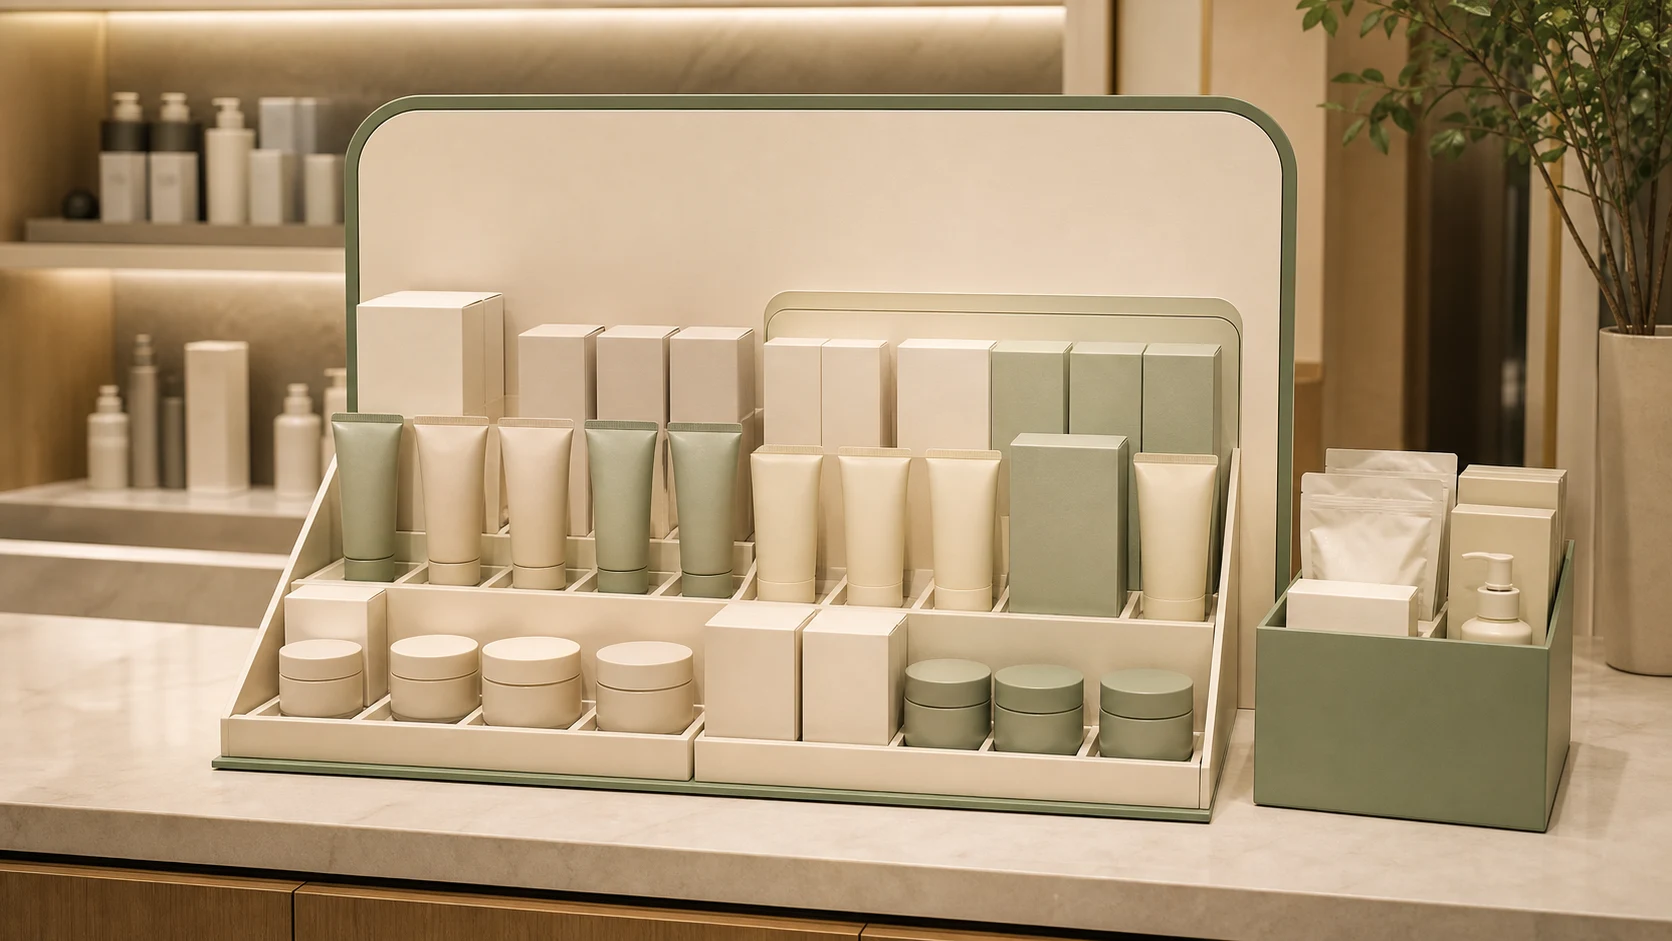
What Must I Define Before Choosing a Counter Display Format?
A display structure cannot be selected from a hero render alone when the retailer, product mix, counter space, and refill method are still unknown.
We define the retail location, maximum footprint, product dimensions, product weight, facing count, stock depth, header need, assembly method, and replenishment owner. We use those facts to decide whether a counter unit, a shelf-ready tray, or a larger display is the practical starting point.
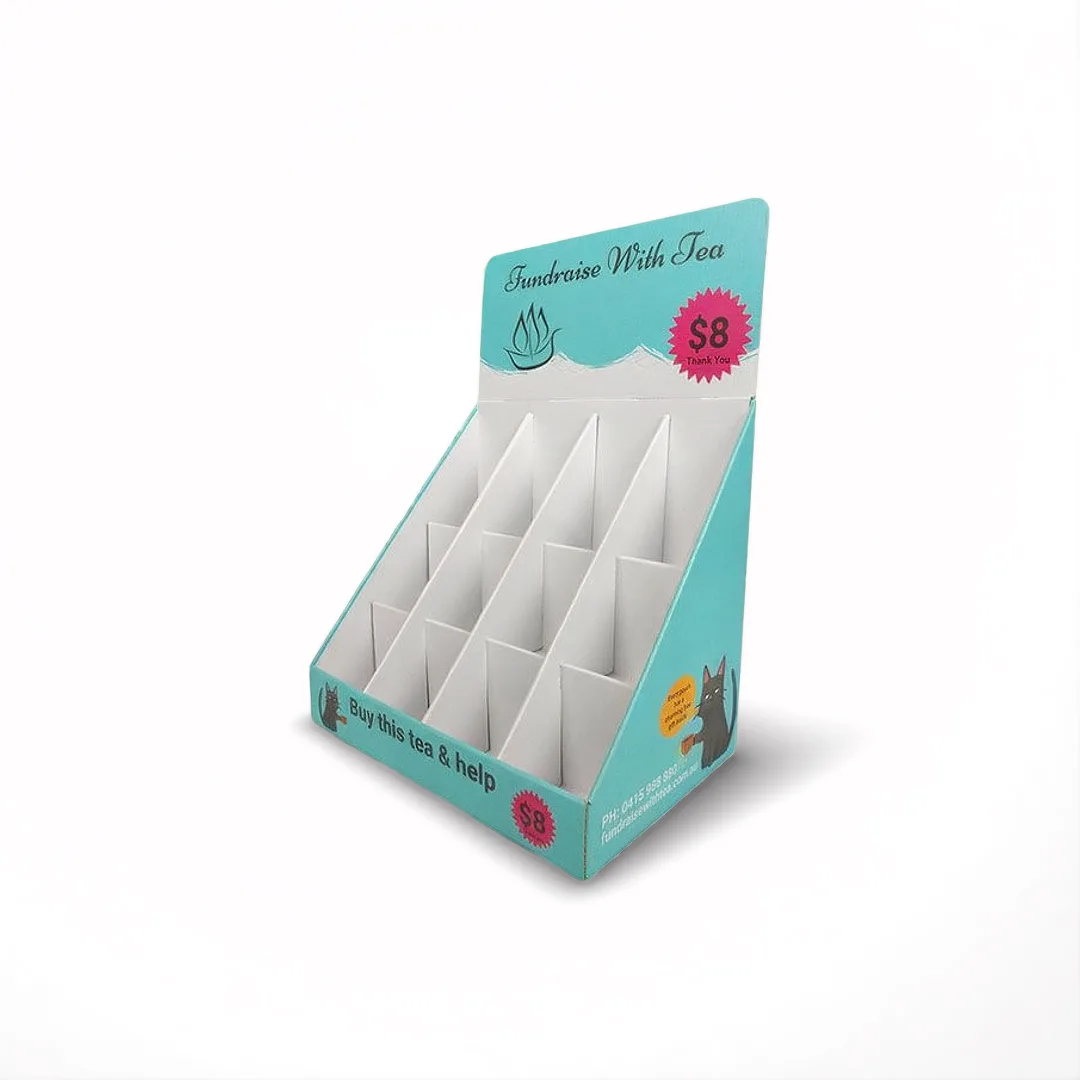
We begin with the store task and the real product set
We ask where the display will sit before we pick a structure. A counter, checkout zone, shelf, gondola end, or freestanding floor location creates different limits. We request the retailer's available footprint, height limit, and any placement rules that the buyer can share. We then measure the actual jars, tubes, cartons, and bottles that the display will carry. We record each product's base size, height, weight, opening direction, and how a shopper removes it. We also list which SKU should face forward and how many facings are required. A display is not only a sign. It must hold, present, and allow removal of the product. We do not use a generic cavity when the range has different heights or when a tube needs support to stay upright.
We map the display to the retail task. A small launch may need a compact unit that arrives flat, sets up quickly, and holds a controlled assortment. A repeat programme may need deeper reserve stock or a separate refill carton. A display with too many products can become hard to understand and refill. A display with too little stock can look empty before the campaign ends. We therefore ask the buyer to state the intended product count, target store quantity, replenishment route, and campaign duration. We keep those points in the structural brief. The visible header, product bays, dividers, and back support then have a reason. This approach lets a converter sample a display for the actual launch instead of making an attractive container with no operating plan.
| Brief input | What we record | Display decision it drives |
|---|---|---|
| Retail location | Counter footprint and height limit | Counter unit versus other format |
| Product set | SKU sizes, weights, facings | Bay and divider geometry |
| Stock plan | Reserve quantity and refill owner | Depth and replenishment access |
| Assembly | Flat-pack or pre-assembled route | Locking and packing method |
How Do I Make Products Easy to See and Refill?
A crowded front row can hide product names, while a deep tray can make the last unit hard for staff or shoppers to reach.
We arrange the display around clear facings, stable product support, easy removal, and a simple refill action. We test the most visible SKU, the smallest product, and the heaviest product in their real cartons or primary packs before we approve the bay layout.

We design the product path, not only the display face
We load a physical sample with the intended product sequence. We stand at normal shopper distance, then move closer as a customer would. We check whether the front product, product name area, color cue, and category relationship remain clear. We do not split a key product message across a fold in the header or bury it behind a tall front wall. We also test how a shopper removes one unit. A jar may need a finger notch. A tube may need a divider or a shallow ledge. A light carton may stand well on its own, while a narrow bottle may need support. We keep the holder geometry related to the product instead of asking staff to arrange the products perfectly by hand.
We test refill with someone who did not design the display. We give them a replenishment carton and watch which units they reach first. We check whether they can see the intended order and whether an empty bay is obvious. We do not create a concealed reserve cavity unless the retail team asked for it and can access it easily. We also confirm whether the header, tray, dividers, and shipper arrive as one assembly or separate pieces. Every extra action can create a mistake at store level. A clear display can use simple structure when the product order and refill path are already defined. The goal is a display that looks controlled after the first customer removes a unit, not only when the sample is fully packed for a photograph.
| User action | What we test | Structural response |
|---|---|---|
| Shop | Visibility and one-unit removal | Facing height, notch, or divider |
| Refill | Product order and access | Open back or clear bay sequence |
| Maintain | How the display looks after use | Stable support and sensible stock depth |
| Transport | How parts arrive at store | Simple assembly and protected header |
How Do I Test a Display Before a Retail Launch?
A display that survives a studio review can still lean, scuff, collapse, or arrive with products displaced after packing and transport.
We test the complete system: loaded display, products, divider parts, header, outer shipper, and assembly instructions. We inspect setup, stability, product retention, appearance, and replenishment after handling. We choose the test level from the product and distribution risks.
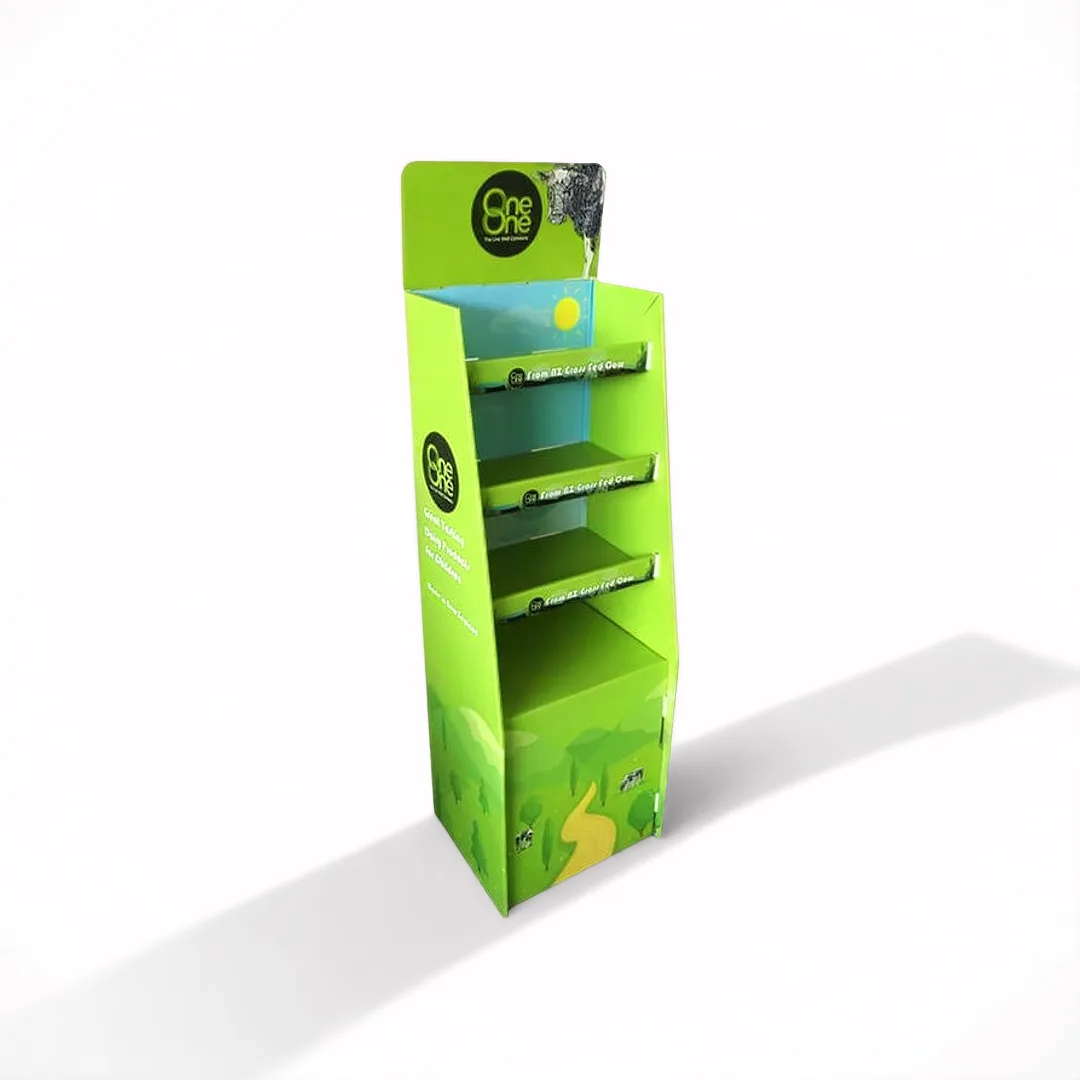
We test the delivered display, not an empty structure
We build a sample with the final or representative product set. We load it to the intended stock level and carry out basic development checks first. We set it on the target surface, open it as a store worker would, remove products, refill it, and look at the front from several distances. We watch the base, dividers, header, product retention, and any locking tabs. We also check the packed route. A display that ships flat has different risks from one that ships preloaded. We include the outer shipper, protection, labels, and any assembly sheet in the review. We photograph the packed and assembled states so the team has a reference when it adjusts the design.
We then decide whether the project needs a formal packaged-product test. ISTA publishes test procedures for packaged products, but the appropriate procedure depends on the product, pack configuration, and distribution environment. We do not state that one generic drop or compression check proves every retail launch. We agree the route and risk with the buyer and technical owner. We repeat the review when the display board, product count, shipper, header, or packing method changes. A community discussion about counter displays shows why practitioners consider stackability, product dimensions, and assembly when choosing the format. We use that as an attributed observation, not evidence. The final decision still comes from the actual loaded display and its agreed test path.
| Test stage | What we include | What we learn |
|---|---|---|
| Setup review | Display parts and instructions | Assembly clarity and stability |
| Loaded-use review | Real products and stock depth | Visibility, retention, and refill |
| Packed review | Shipper and protection | How transport affects the display |
| Formal test decision | Route and risk information | Whether a qualified procedure is needed |
Sources and Related Reading
- 1 Retail display packaging. Internal counter and retail-display options.
- 2 Packaging capabilities. Internal sampling and production context.
- 3 Start a retail-display brief. Internal route for sharing location, SKU, and rollout requirements.
- 4 ISTA test procedures. External reference for choosing packaged-product test procedures.
- 5 Shop! Association retail display context. Industry association context for retail design and display work.
- 6 Reddit counter-display discussion. Attributed community discussion about counter display structure and product dimensions.
Conclusion
We brief the retail task first, test how products are seen and refilled, then validate the complete loaded display and shipper.